This guide covers SD card recovery with XRecovery 3.1.6 on Windows: identify the source, scan it, inspect results, and save recovered files to another device. It is intended for a stable card that Windows can recognize and make accessible for scanning. A broken, overheating, or repeatedly disconnecting card needs assessment before a normal software scan.
XRecovery runs only on Windows. Its filesystem support also covers filesystems used on Mac and Linux; this does not make it a Mac or Linux application. Connect removable storage to the Windows computer, or attach a removable disk through a suitable connection. Windows does not need to display a normal drive letter for the source to be a scan candidate. Check support for the specific filesystem and any encryption before proceeding.
Before opening the application
Stop recording on the card. Check whether the missing files already exist in a verified backup. Prepare a Windows computer, a compatible reader, and a healthy destination on another physical device. Make enough space for the expected output and possible alternative results.
Keep the affected card as the source only. Install software and save recovery results elsewhere. Do not place a scan log, session file, or acquired image on that card either. If it is the only copy of valuable data, consider whether professional acquisition is appropriate before proceeding.
Use the official site to obtain the application and consult the current system requirements. XRecovery provides a total free recovery allowance of 2 GB. Prepare activation before starting a recovery you need to complete.
Using the offline version
The offline version can run entirely offline on the recovery computer, B. Activation still needs another computer, A, with internet access. Use the supplied activation tools to transfer B’s activation metadata to A, submit it from A, and transfer the activation response back to B. B itself can remain offline throughout. The operator must be able to exchange this information between the two computers; an offline installation does not remove that exchange requirement.
1. Check that Windows presents the intended card
Inspect the device in Disk Management without selecting Format or Initialize Disk. Compare the reported physical size with the label and reader connection. A drive letter can change, so do not use it as the only identifier.
If the reader appears but the card reports No Media, zero readable capacity, or an inconsistent size, pause here. Follow SD card not detected or wrong-capacity checks. Installing another recovery application does not by itself establish a readable source.
If the card is stable but the volume is RAW or asks for formatting, do not format it merely to create a normal drive icon. XRecovery can scan partitions, disks, and external storage recognized by Windows. Select the corresponding source in XRecovery. Recognition makes it a scan candidate; it does not guarantee that all sectors are readable or every file recoverable.
2. Identify the device or partition in XRecovery
Use the available partition or physical-device view to identify the affected SD card. Compare capacity and device information before starting. The published tutorial provides context for source selection and result browsing; use the controls in your installed version when screen details differ.
Where several devices look similar, stop and resolve the ambiguity. Do not assume that the first removable item is the correct one. A card image, a USB backup drive, and another memory card are different sources even if they contain familiar filenames.
Keep a short note of the selected source and software build. This gives support a useful starting point if the result differs from expectations.
Copies, images, and saved sessions
XRecovery supports byte copies of a selected partition or an entire disk, loading images for analysis, and saving and restoring scan sessions. A partition copy covers the selected partition; a whole-disk copy covers the selected disk’s addressable range. Choose the scope deliberately and keep the copy on separate storage.
Use image loading when working from a compatible saved image. Save session information separately from the affected card as well. A saved session preserves scan work; it is not a byte copy of the source and cannot replace missing source data. Image creation still reads the card, and neither the copy’s existence nor its nominal size proves that every area was read successfully.
3. Start a scan and monitor the source condition
Double-click the intended source or select it and click the scan button. Both start scanning. Confirm the source identity before either action; a repair or initialization operation is not a prerequisite.
Quick scanning runs first. Deep scanning starts automatically as soon as the quick scan finishes; you do not need to start the deep scan separately.
Camera enhancement runs automatically through the dedicated enhancement entry. It is not included in an ordinary partition scan. If you intend to use camera enhancement, use that entry rather than assuming the ordinary quick-to-deep sequence includes it. This difference concerns the analysis workflow, not whether an SD card is a supported scanning source.
Scanning is read-only. When a read times out on a bad sector or another unreadable area, XRecovery skips it and continues scanning later areas. Skipping lets the scan progress; it does not repair that area or recover its missing bytes. Watch connection stability and read errors. Repeated disconnections or worsening errors are reasons to reconsider further attempts, even if the scan can continue.
Do not start several recovery applications against the same card at once. If you need a different analysis method, document what the first attempt established. For an unstable source, seek advice about acquisition rather than repeatedly forcing a full scan.
4. Browse and evaluate the results
The tutorial describes browsing by tree or file type and using result filtering or searching. Begin with the missing event, date range, or expected file types. Do not apply such restrictive filters that you hide generated-name candidates or a companion format you also need.
Check that the results actually belong to the intended card and shoot. Older files, duplicates, and thumbnails can appear alongside useful originals. A large result count does not necessarily mean a large fraction of the missing set was recovered.
Preview supports selected mainstream image, document, and video formats, not every recoverable format. Use it as an initial check. For an unsupported preview format, evaluate an exported candidate with an appropriate application if your license permits export. An unavailable preview does not by itself mean the file is damaged.
5. Recover a sample to another physical device
Select a representative group of important files, including different dates and formats. Use the recovery function to choose a destination outside the affected card. Read the destination path carefully before confirming.
XRecovery normally prevents selecting the scanned source partition as the recovery destination, but the user can override its warning and force output there. Do not use that override for this workflow: output can overwrite data you still need to recover. Read-only scanning does not make a later forced write safe. If the computer has only one disk and one partition, obtain separate destination storage before exporting.
An export problem may concern the destination rather than the source. Check available space, permissions, connection stability, and whether its file system supports the expected file sizes. Do not respond to a destination error by formatting the source or choosing the source as an easier target.
Keep this first export intact. If you later export alternative candidates, use another folder so a partial copy does not overwrite a better result.
6. Validate the exported files
Open photographs at their expected dimensions and test RAW files in a compatible editor. For video, confirm duration, seeking, picture continuity, and required audio. For documents, inspect actual content. A filename and plausible size are not enough.
Use the detailed photo checklist and video checklist for media-specific validation. After the sample is satisfactory, recover the remaining selected files and make a second backup of the verified set.
If files are partial, record the outcome honestly. Keep the card or an acquired image available while deciding whether further analysis is justified. Do not erase it immediately because a scan completed or a recovery status indicator looked positive.
If the documented workflow does not match your installation
Record the exact XRecovery version, Windows version, card size, reader, selected source, and the stage where the process differs. Include the error wording and a screenshot of the relevant interface, excluding private filenames when necessary.
Include whether you scanned a partition, a whole disk, or a loaded image, and whether you restored a saved session. Camera enhancement is an algorithm capability; it does not change which devices can be scanned. An SD card recognized by Windows can be scanned regardless of that distinction. The algorithm’s effectiveness for a particular recording still depends on its format, fragmentation, and surviving data.
Understand the limits before reusing the card
It does not reverse overwritten data, bypass encryption, repair physical damage, or guarantee every file will open. It also does not certify that a card is safe to reuse. Those questions depend on the source condition and on validation beyond completing a scan.
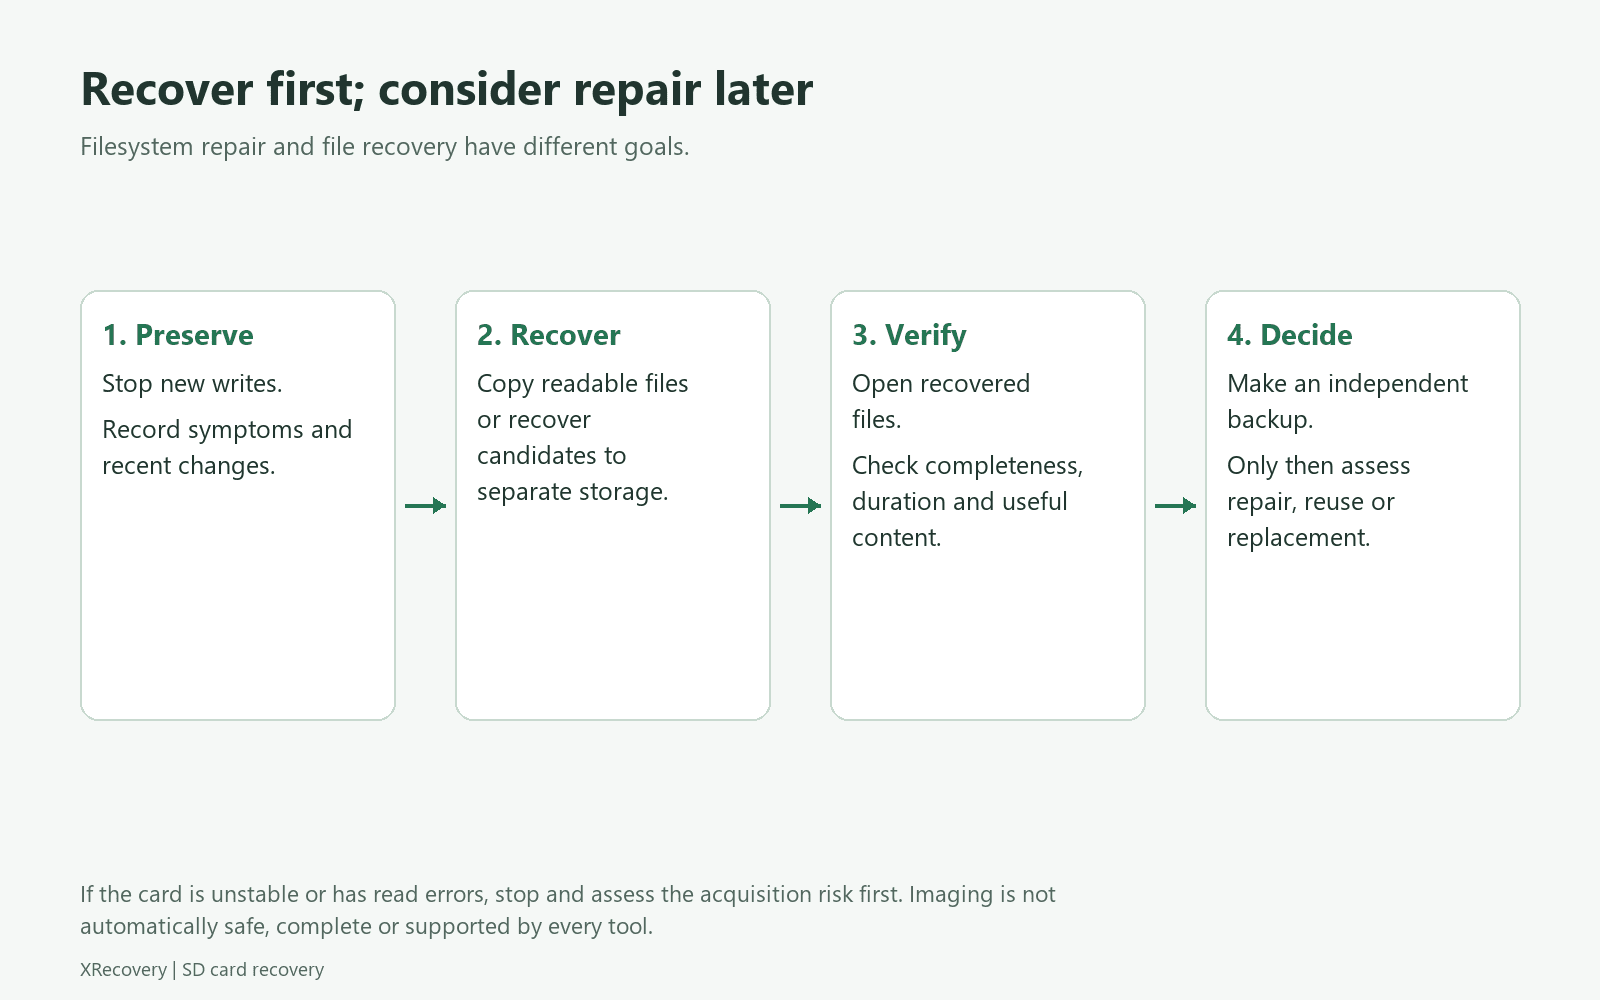
For help choosing whether a software attempt is appropriate at all, start with the SD Card Recovery decision guide. For a format prompt or damaged directory, use the recovery-before-repair guide before changing anything on the source.