When an SD card asks to be formatted, shows as RAW, or contains unreadable folders, preserve the files before trying to make the card usable again. Recovery and repair have different goals. Recovery extracts surviving content; repair changes structures so that a file system can operate more consistently.
This guide addresses a card that remains visible to the computer with a plausible capacity. If the card is not detected as storage, shows no media, or repeatedly disconnects, use SD card detection checks. If the card has already been formatted, follow the formatted-card workflow.
What “corrupted” does—and does not—tell you
A format prompt is not a diagnosis of physical failure. A computer may be unable to interpret the volume even when some or all file data can still be read. Similarly, a visible folder does not prove that all files behind it are intact.
Useful observations include the exact message, whether the camera still displays files, whether the computer reports a stable physical size, and whether ordinary reading produces errors. Record these without trying to reproduce a crash repeatedly. A single symptom should not be used to promise a simple software fix.
| Observation | What to investigate |
|---|---|
| Windows asks to format a visible card | Current volume recognition and surviving file-system information |
| The volume is RAW | Why Windows cannot interpret a usable file system |
| Some folders open, others produce errors | Which content remains readable and whether reads are stable |
| Files copy but do not open | Actual file integrity and application support |
| The device disappears during reading | Connection or media instability before further recovery attempts |
Do not confuse a RAW volume label with camera RAW photographs. They refer to different things and lead to different checks.
Step 1: cancel operations that change the source
Cancel Format, Initialize Disk, New Simple Volume, and prompts to repair the only copy. Do not use a card-preparation utility as a first recovery step. Keep the card out of the camera so that background recording, catalog updates, or automatic repair cannot become part of the experiment.
If Windows offers a scan-and-fix action, postpone it while needed data exists only on the card. Microsoft’s CHKDSK documentation distinguishes a status check from repairing options such as /f; /r includes repair functionality. “Checking the disk” is therefore not a sufficient description of what a proposed command will do.
This is not an instruction to interrupt an operation that is already running without assessment. Record what has been started and seek situation-specific advice if you are unsure how to stop safely.
Step 2: separate a connection problem from a card problem
For a card with no visible damage, check the reader connection and use a known-good compatible reader if needed. Change one component at a time. A microSD adapter, USB cable, hub, or old reader can be the reason access differs between devices.
Use a spare card with no valuable data to test a suspected reader. Do not use another important card as a sacrificial troubleshooting device. If the affected card becomes hot or repeatedly drops out, stop the sequence rather than cycling through every available computer.
If the physical device remains stable but its volume is unreadable, proceed with recovery planning. If the physical device itself is inaccessible, a new file-system setting will not create the missing readable data path.
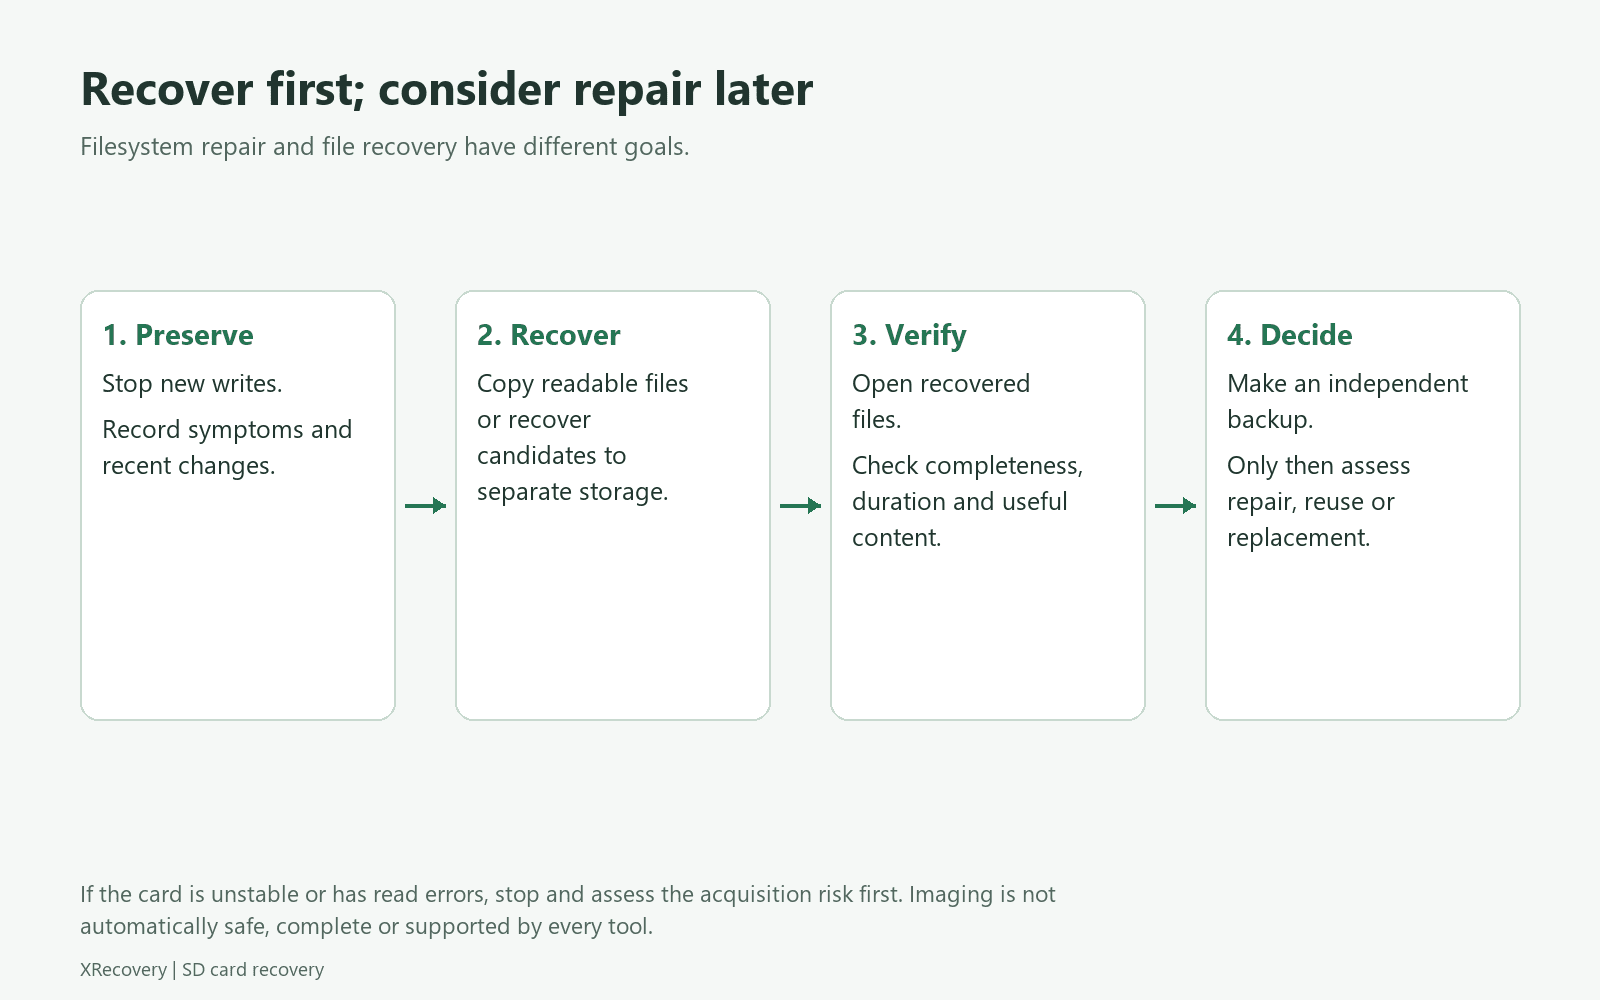
Step 3: preserve readable content and assess imaging
If ordinary files can be copied reliably, prioritize important readable files to another device. Do not move or delete them on the source. Copying the visible files does not preserve all deleted or unallocated content, so it is not equivalent to acquiring a whole-card image.
For valuable or unstable media, consider specialist acquisition. A sector image and its acquisition record can support later analysis without repeatedly reading the original card. A map of unread areas matters: an image file of the expected size is not proof that every source area was successfully captured.
Keep a master copy of acquired evidence and perform any experiments on a separate working copy. This preserves a route back when an attempted repair changes a directory or allocation record in an unhelpful way. The GNU ddrescue manual explicitly recommends working on copies rather than repairing a failing original.
Step 4: recover files to a healthy destination
Choose software based on documented support for the current readable device or image. The tool should not require you to format the original before it can begin. Verify source identity by physical capacity and device connection, not just a drive letter.
Review candidates found through surviving file-system structures. If those are insufficient, a supported signature search may find content without its original names. The two result sets can differ, and neither should automatically overwrite the other.
Save output on another physical device, with separate folders for each method. Keep a record of what you selected, whether the scan completed, and whether any read errors occurred. For the Windows workflow, see using XRecovery 3.1.6 with an SD card.
XRecovery skips a read that times out and continues scanning later areas. That behavior can let a scan progress, but does not establish that the skipped data was recovered. If errors worsen or the card disconnects, reassess preservation rather than treating continued progress as proof that the source is healthy.
Step 5: verify before calling the case recovered
Open the files that matter in their intended applications. For a photo set, compare dates and sequences and inspect full images. For video, check playback through the clip and seek near the end. For documents, inspect actual pages or sheets rather than only filenames and sizes.
A recovered set may include complete files, partial files, embedded previews, and duplicates. Keep those categories separate. Do not announce a complete recovery because the application found more files than you expected; old files and duplicates can inflate the count.
Back up verified results to another location. If important content remains missing, preserve the source and decide whether specialist work is worthwhile before formatting or testing reuse.
Repair or replace only after the recovery decision
Once the needed data is verified and separately backed up, evaluate the card as storage. Repairing a working copy can help investigate logical damage. Preparing a card for reuse may involve formatting according to the device manufacturer’s instructions, but it is not a continuation of recovering deleted content.
Apple likewise advises having a current backup before running Disk Utility First Aid. The general order is relevant even if you work on Windows: first secure the needed files, then decide which repair or reuse operations are acceptable.
Replace a card that has recurring errors, intermittent detection, or unexplained changes in capacity. A successful export demonstrates that certain files were read; it does not establish the card’s future reliability.
Questions about “fixing without formatting”
Can the files be recovered without repairing the card?
Sometimes. Recovery software can extract readable file content without first making the volume mount normally. Whether that works depends on the data and device state, not on the wording of the error message.
Will CHKDSK recover my deleted photographs?
Its job is file-system checking and repair, not a guarantee of retrieving deleted originals. Do not substitute a repair command for a recovery plan when the source is your only copy.
Does formatting mean the card is healthy again?
No. A format operation and a reliability assessment answer different questions. Persistent hardware or connection faults may remain even if the card briefly becomes usable.
What should I send with a support request?
Provide the card’s label, reader model, exact messages, reported physical capacity, loss history, and operations already attempted. State whether the missing files are the only copies. Those details support a useful next decision without requiring repeated trial-and-error on the card.
For other loss scenarios, return to the complete SD card recovery guide.