Recovering a video means more than finding an MP4 or MOV filename. A useful result needs the expected duration, decodable pictures, required audio, and reliable playback through the recording. Deleted or formatted SD cards can produce video candidates that look convincing in a result list but are incomplete.
Stop recording on the affected card. Keep the original aside, collect any backup or proxy copies, and use another physical device for recovered output. If the card is unstable or not detected, start with the detection guide before attempting a long video scan.
Determine whether the recording is deleted or damaged
There are at least three different situations. A recording may be absent after deletion, present but unreadable after file-system damage, or present with a container that was not finalized properly after interrupted recording. These conditions can overlap, but their next steps are not identical.
If a video file is still visible, preserve a copy on another device before trying to repair or convert it. If no file is visible, recovery may be needed to retrieve candidate data first. A video-repair service cannot necessarily reconstruct data that was never recovered or has been overwritten.
Record the camera model, recording mode, approximate clip length, file extension, and whether the loss followed deletion, formatting, battery failure, or card reuse. Note whether the camera records separate audio, proxy clips, or multiple segments for a long take. Do not assume that every smaller file in the result is a damaged original; some may be legitimate companion files.
Look for other versions without confusing them with originals
Check prior imports, editing-project media folders, external backups, and any second recording card. A drone controller or phone may hold a cached preview rather than the full-quality recording. It can still be useful, but identify its resolution, duration, and compression before treating it as a replacement.
An editing project file is also not necessarily a backup of its source media. Open the project carefully and determine where it expects the original clips. Search those locations and any known copies before scanning the card for files that may already exist elsewhere.
Keep partial or low-resolution copies as references. They can establish which moment is missing and help evaluate recovered candidates. Do not overwrite them with a newly recovered file of the same name until comparison is complete.
Understand why video recovery can be difficult
Large recordings can involve multiple data regions and file structures. A signature search may identify a beginning without correctly rebuilding every necessary part. CGSecurity describes signature-based recovery and fragmentation limitations; those principles explain why detecting recognizable bytes is not enough to guarantee a playable complete file.
Some tools advertise camera-specific or fragmented-video reconstruction. Such a claim must be matched to the exact camera, recording mode, software version, and observed results. A supported extension such as MP4 does not establish support for every camera’s recording layout or every codec inside that container.
See the technical recovery explanation for the distinction between surviving file-system records and carving. Use that distinction to choose a purposeful second analysis method rather than repeatedly running the same scan under a different product name.
Prepare a controlled recovery workspace
Use a healthy destination with enough free space for large files and alternative candidates. The destination file system must support the size of the expected clips; FAT32 cannot store an individual file of 4 GiB or more. CGSecurity’s recovery documentation specifically calls out the destination-size issue.
Create separate folders for the first recovered set, alternative results, validated clips, and any repair experiments. Write down the source card and acquisition details. If a specialist has created an image, retain its accompanying read-error record and work from a copy where appropriate.
Do not generate a “sample video” on the affected card. If a repair workflow later requires a healthy reference recording from the same camera and mode, make that recording on a different card, and follow the chosen tool’s documented requirements. A reference may help interpret a container; it does not recreate overwritten frames.
Recover candidates, then validate outside the recovery tool
Identify the source by device and capacity. Inspect any available original folders or filenames, then evaluate additional signature results when supported. Export candidates to the separate destination, keeping outputs from different methods distinct.
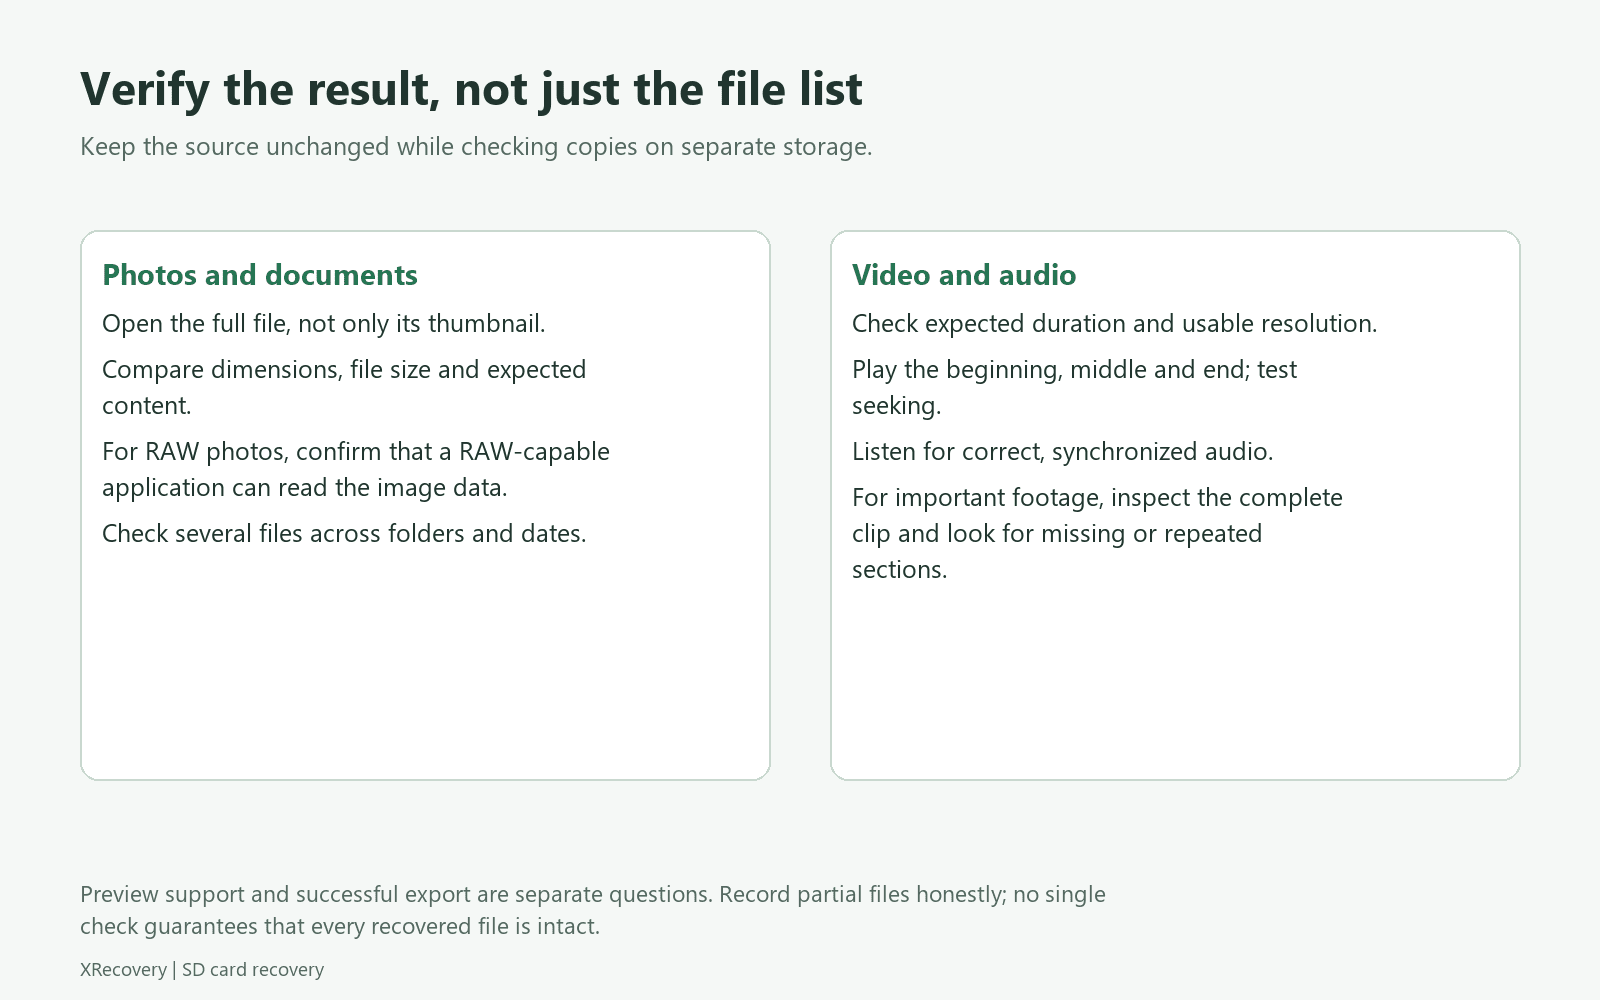
Preview is an initial filter, not the final test. Open important clips in an application that supports the codec. If a clip fails in one player, check codec support before deciding it is unrecoverable. If it fails consistently or shows visible corruption, keep the original candidate unchanged while investigating copies.
For each important clip, record:
- Expected event and approximate recording length.
- Recovered duration and resolution.
- Whether the beginning, middle, and end play correctly.
- Whether seeking works across the timeline.
- Whether audio exists, stays synchronized, and contains the expected material.
- Whether there are freezes, black sections, block corruption, or abrupt truncation.
Spot checks help triage a large set. For a critical deliverable, watch or otherwise validate the entire recording before marking it complete. A hash can confirm that two copies match each other; it cannot establish that either matches an unavailable original recording.
Interpret common video results
| Result | What to investigate |
|---|---|
| Filename present, file will not open | Incomplete content, container damage, or unsupported codec |
| Clip starts but stops early | Truncation, missing regions, or a legitimate segmented recording |
| Picture works but audio is absent | Expected recording configuration, missing track, or playback support |
| Small low-resolution clip recovered | Proxy or cached preview rather than the intended original |
| Several candidates show the same opening | Alternative carvings or duplicates; compare the full clip |
| New recordings exist, older clips are missing | Possible overwrite after the loss event |
Do not label every playable fragment a successful full recovery. A ten-second section may be useful evidence or a partial keepsake, but it is not equivalent to an expected twenty-minute recording.
Keep repair experiments separate
If a recovered file contains useful media but fails because of damaged structure, a suitable repair workflow may help. Preserve the original export and test copies. Record the tool, settings, and whether the process alters timing, re-encodes pictures, drops tracks, or changes quality.
Do not present AI-generated replacement frames or enhanced reconstructions as recovered original footage. For documentary, client, or evidentiary material, that distinction is especially important. Any reconstruction should be separately identified and should not replace the unmodified recovered file.
Close the case with a clear result
List complete clips, partial clips, alternate copies, and still-missing recordings. Back up the verified set to another location. Keep the source card or image until you decide whether further specialist assessment is worth pursuing.
For XRecovery 3.1.6 on Windows, follow the product recovery workflow. Its preview covers selected mainstream video formats; validate exported clips separately. Camera enhancement is an algorithm capability, not a different class of scannable hardware. An SD card recognized by Windows can be scanned. This does not guarantee that every fragmented recording can be reconstructed; the remaining data and the recording’s structure still matter.
An ordinary partition scan automatically proceeds from quick scanning to deep scanning, but does not include camera enhancement. Camera enhancement runs automatically through the dedicated enhancement entry. Use that entry when you intend to apply the enhancement algorithm, then validate the exported recordings rather than treating the selected workflow as proof of a complete recovery.
Return to the SD Card Recovery hub if the same card also has photo, formatting, or detection issues. The next step should follow the remaining problem, not the number of recovery tools available.