

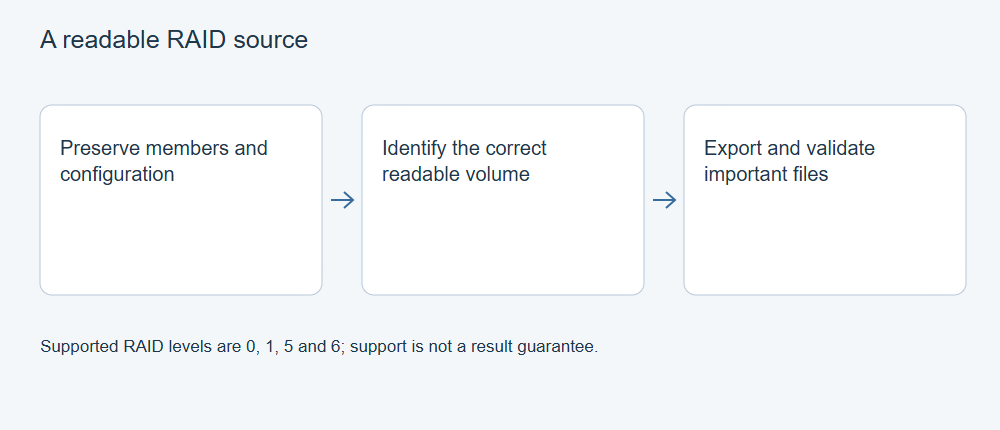
Use XRecovery’s RAID workflow only after preserving the member set and configuration. Its documented scope includes identifiable, readable RAID 0, 1, 5 and 6 arrays. If the intended array is not recognized, do not treat that as permission to initialize disks, invent a layout or start a rebuild.
Prepare the member record
Record the original platform, RAID level, member count, slot-to-serial mapping and known parameters. Use the member and image record to keep each input tied to its source. Preserve controller or NAS exports and the incident timeline. Distinguish original members from replacements and images from physical sources.
Keep output on separate storage with enough space for the required files. If source members are unstable or essential configuration is unknown, obtain appropriate assessment before further reads. A full-size image file does not eliminate read errors recorded during acquisition.
Examine the discovered source
Open the RAID recovery workflow provided by the installed XRecovery 4.0 build. Compare any discovered array and volume with your preserved record. Check the level, expected capacity and recognizable content together; a plausible value on its own is not enough to identify the source.
Do not accept guessed parameters just because a volume can be displayed. If the application does not recognize the intended readable source within its supported controls, stop that route and retain the diagnostic details. The approved scope does not establish arbitrary missing-member reconstruction, RAID 10/JBOD or every controller format.
Scan the correct volume
Use the documented scan route for the recognized source. Locate representative files through available names, paths, filters and supported preview. Keep source identity clear if several volumes or candidates are shown.
Separate file detection from a usable export. The presence of familiar names or a directory tree does not prove that the underlying layout supplied complete file content. Do not describe the scan as repair of the original array.
Export and inspect
Save permitted results to the prepared destination. Preserve initial exports and inspect copies in the appropriate applications. Check important large files, expected media duration and project dependencies as relevant. A small valid file does not certify the entire recovered view.
If a known-good original exists, compare its hash with the output. Otherwise record which content was actually examined and any uncertainty. Label each attempt and the source interpretation it used.
Example: choosing between two visible volumes
Suppose an identifiable, readable RAID 5 presents two volumes of similar size. Compare each candidate with the saved volume label, capacity, file system and known folders before choosing one. Scan the matching source, browse its paths and use file type or modification-time filters to find a small project and a larger file. Save them to separate storage, then inspect the project and play or open the larger file through the content you need.
If the directory names look familiar but the larger file contains mixed or missing content, retain the exports and source record for investigation. Do not treat one small file that opens as proof that the entire layout is correct.
If detection or output is wrong
Record the application build, source configuration, detected view, errors and result checks, with credentials removed from shared material. Do not repeatedly alter and write guessed layouts to original members. If inputs are missing or the array is inconsistent, assess the source configuration before continuing.
Protect verified files before deciding separately how to repair, replace or rebuild the original storage.
For the next step, see XRecovery 4.0 Support: Find the Right Workflow for Your Next Step.