

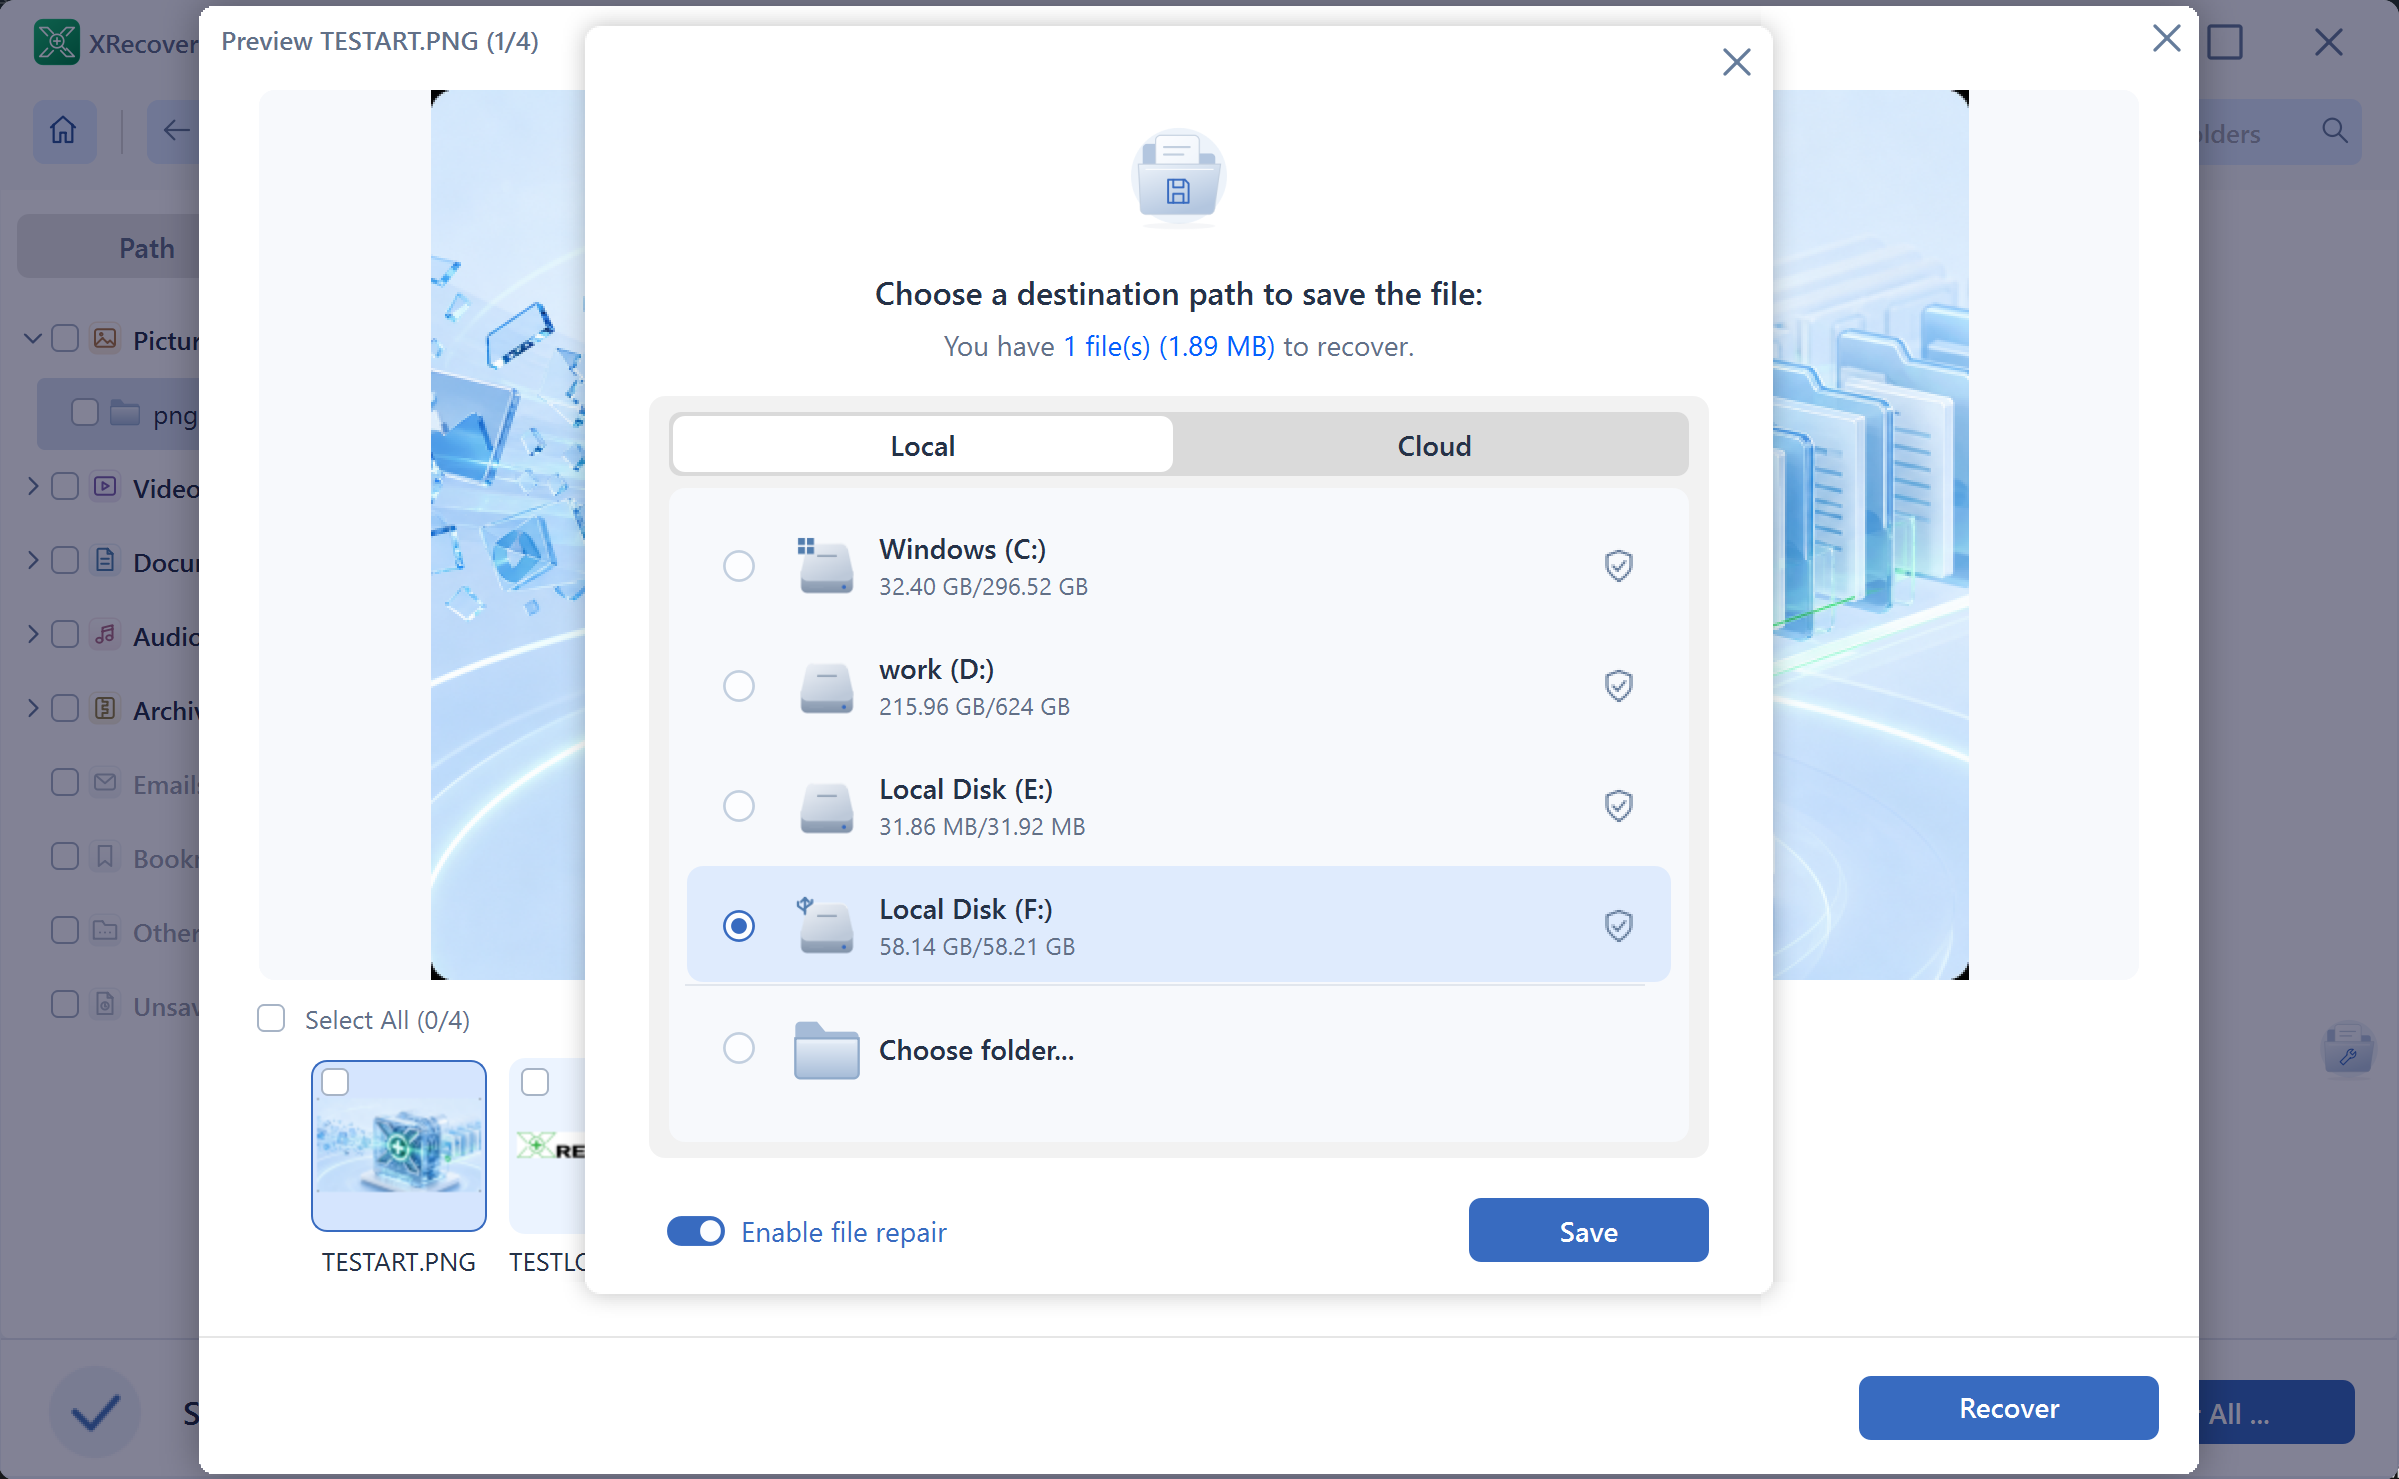
Recover to another physical storage device with enough free space and a file system that accepts the largest selected file. Another folder or partition on the affected disk can still expose your source to new writes. Check the destination before a large export so that a space or format limit does not interrupt the files you need.

Identify a genuinely separate destination
Compare disk models and capacities, not just drive letters. D: and E: can be separate partitions on the same physical disk. If the deleted files were on that disk, saving recovered files to either partition would write to the source disk.
Use a healthy external disk or another suitable physical storage device and confirm its identity in Windows. Keep it distinguishable from the source in XRecovery’s destination selection. In Disk Management, find each volume in the lower disk map and check which numbered disk contains it. Compare the disk model and capacity with the source and intended destination. If the device identity is still uncertain, resolve that before saving.
Do not clean up space by deleting files from the only source you are trying to recover. Also protect the destination’s existing contents: it may hold other people’s work or your only backup.
Estimate the actual output
Review the total selected sizes where available and leave working room for the export. A result set can include duplicates, alternate reconstructions, thumbnails, and unwanted files, so exporting everything may consume much more than the amount of unique work you need.
Start with an important representative selection. After checking it, expand the selection deliberately. Keep competing versions separate until their contents have been compared.
If you also need a disk image, account for that separately. An image of a selected storage range can need far more capacity than the documents you plan to recover from it.
Check the largest individual file
Free capacity is not the only limit. FAT32 cannot store an individual file of 4GiB or larger; its maximum individual file size is 4GiB minus one byte. Microsoft’s file-system comparison documents the relevant limit.
A FAT32 destination with plenty of free space can therefore fail on a large video or image file. Choose an existing appropriate destination, such as a suitable NTFS or exFAT volume, after checking compatibility with your workflow. Changing the source’s format is never the solution to a destination file-size problem.
If reformatting any destination is contemplated, first preserve its contents and make that a separate deliberate storage-management task. Do not accept an unexpected format prompt during recovery as a shortcut.
Use clear output folders
Keep a short, descriptive base path on the destination. Preserve useful source directory structure within it where possible, while keeping alternate results or attempts distinguishable.
Avoid mixing verified files with uncertain later exports under the same names. A blanket replace-existing action can overwrite your best recovered copy. For projects with repeated filenames or linked assets, directory relationships can be part of what makes the output usable.
If saving fails
Record the exact message and which file or stage failed. Check whether the destination is connected, writable, and still has space. Compare a failed file’s size with the destination’s file-system limit.
An incomplete export can leave a filename and partial contents on the target. Keep it distinguishable, resolve the destination issue, and retry into a separate folder when appropriate. Do not assume that every file in a partly completed batch is equally usable.
Validate and back up the result
Open important exported files from the destination in their normal applications. Check whole recordings, relevant document sections, and full-resolution images rather than only the export count.
Keep the original source or preserved image unchanged until you have verified the required output. Make another copy of the verified files before returning either device to ordinary use. A safe destination makes recovery less risky; actual content validation establishes whether the saved files meet your need.
For the next step, see XRecovery 4.0 Support: Find the Right Workflow for Your Next Step.