

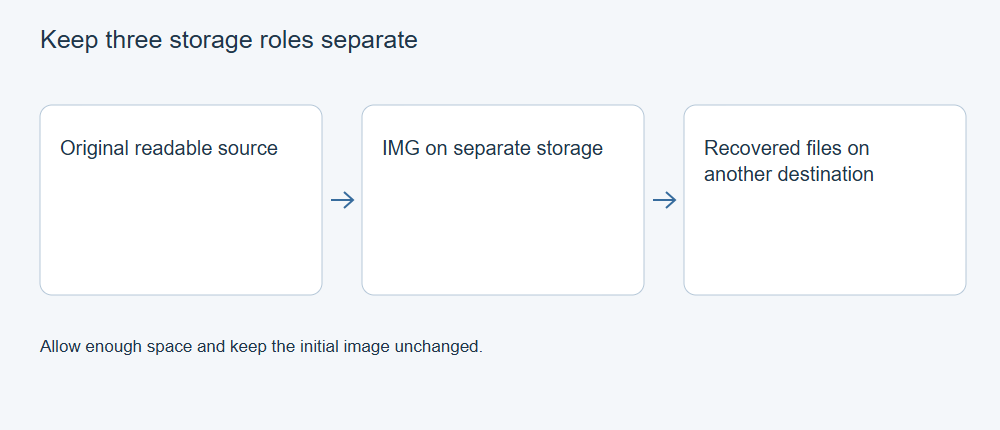
An IMG image can preserve readable source storage for later scanning, letting you work from the image rather than repeatedly searching the original device. Select the correct source and a separate destination with enough space, retain the completed image, and export recovered files elsewhere. An image captures readable data; it does not recreate sectors the device cannot supply.
Decide whether imaging fits the source
For a stable readable disk, imaging can provide a consistent input for recovery work. For a physically unstable disk, creating an image is itself a substantial read operation. Abnormal sounds, repeated disconnects, changing capacity, or severe read failures may require specialist assessment rather than an ordinary imaging attempt.
Keep the source unchanged while planning. Identify the physical device shown by the image-creation workflow and record whether the application captures the whole disk or a selected partition, according to the source options it actually offers. Keep that scope with the image so you know what storage the resulting file represents.
Prepare the image destination
Use another physical device with room for the image and the recovery work that will follow. Check the space needed for the source being captured; do not assume a largely empty source means that a raw image will be as small as its visible files.
Check the destination’s file-system limits. FAT32 cannot accept an individual file of 4GiB or larger, making it unsuitable for many disk-image files. Choose suitable existing storage instead of formatting the affected source or accepting an unplanned destination-erasure operation.
Use a descriptive image filename and keep a note of source model, capacity, selected scope, application version, and creation date. Store that note without exposing unnecessary private filenames or credentials.
Create the image
Use XRecovery’s disk-image creation function and carefully confirm the source identity and output path before starting. The selected output must be an image file on the destination, not a device containing data you intend to keep.
Observe whether the operation finishes normally and retain any reported errors. If it is interrupted, preserve the partial file and the available error information, but do not label that partial output a complete image. Do not assume that every interrupted image can resume simply by choosing the same filename.
Where available, retain the creation report or relevant status details with the image. An image’s apparent size alone does not establish that every intended source region was read correctly.
Keep the completed image as a source
After creation, confirm the file location and selected scope. You can record a cryptographic hash to identify that image for future comparisons. A hash calculated only after creation does not, by itself, establish that all source sectors were read correctly.
Preserve the completed image unchanged. Open it through XRecovery’s image-recovery workflow; the product supports scanning raw IMG, RAW, and DD image sources. Inspect the expected partitions or file-system results rather than assuming the image file itself is an already recovered folder.
Recover files from the image
Scan the relevant image contents, inspect original-path and file-type results, and preview supported candidates. A familiar file entry inside an image still needs the same validation as a result from a physical disk.
Export the selected files to a separate working destination, keeping them distinct from the preserved image. If the disk holding the image is also the output disk, ensure you have sufficient space and that writing output cannot modify the image or erase its only copy. For clearer protection, use an independent output device when available.
Open exported files in their intended applications. Check the actual contents, including important document sections and complete recordings. Retain alternate candidates until the useful set is established.
If image-based recovery is incomplete
Recheck the recorded source scope and image completeness. An image contains only what the capture covered, and an image made after data was overwritten cannot restore an earlier storage state.
Keep the original source and the first image until you understand the missing content. A saved scan-result file can help revisit findings, but it is not a replacement for the image’s data. Preserve your best exports and assess a specific gap rather than repeatedly recreating the same uncertain image.
For the next step, see XRecovery 4.0 Support: Find the Right Workflow for Your Next Step.