
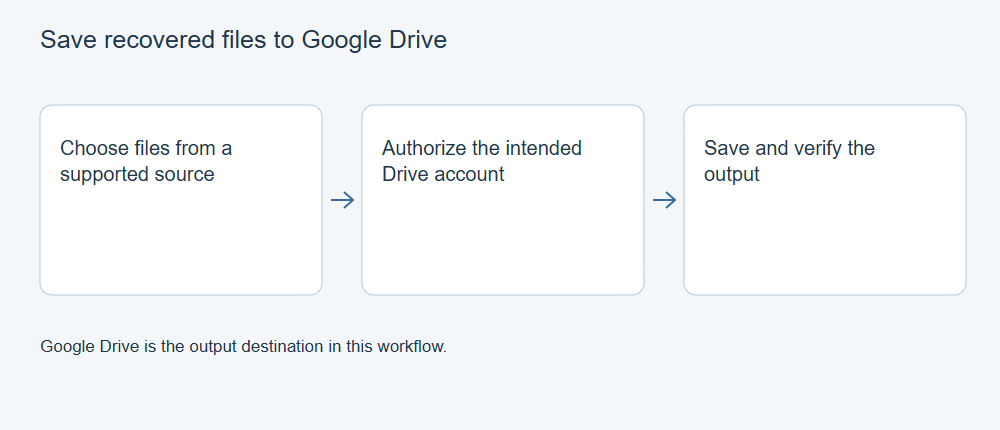
Save recovered files from a supported source to an authorized Google Drive destination in XRecovery. Choose the account and folder, check available space, then verify the saved files. If you need an item deleted from the Google Drive account itself, use the service’s recovery controls described in the linked guide.
Decide which task you need
If a local file was deleted, select the supported local source and recovery workflow. Google Drive may be the chosen output destination where that function is available. If the missing item existed only in the Drive account, begin with Google’s native recovery options instead of scanning an unrelated local disk.
Identify the intended account and folder. Confirm that you are allowed to save the recovered content there and that the privacy rules for those files permit cloud storage. A managed account may impose policy or capacity limits that differ from a personal account.
Choose this page for the destination task
After XRecovery finds files on a supported source, you can choose an authorized Google Drive destination for the output. To restore an item deleted from the Google Drive account itself, follow the Google Drive recovery guide. For selecting and previewing local scan results, use the Windows recovery workflow.
Prepare the output destination
Use the installed XRecovery build’s normal destination and authorization controls for the approved Google Drive saving function. Confirm the account and requested access before approval. Do not share passwords, tokens or private content in a support transcript.
Check the destination folder, available capacity and network conditions. Keep source and output roles distinct: the destination must not be mistaken for the device holding the missing local data. If authorization is blocked, resolve the policy or account condition instead of substituting another person’s credentials.
Save and verify the files
Select the recovered files you need and save them within the remaining shared 2 GB free recovery-and-repair allowance or under an active paid recovery license. A transfer indicator is not complete content validation. Confirm that the expected files appear in the authorized destination and retrieve a representative saved copy for inspection where appropriate.
Open that copy in the intended application. Check the required document content, full photograph or recording, and project dependencies. Preserve the initial exported bytes before editing or repair. Record the account, folder, source and checks without exposing access credentials.
If a transfer fails, distinguish authorization, quota, network, file-selection and content problems. Preserve any useful local or successfully saved copies before retrying the failed operation. Do not delete source data merely because a remote item has appeared in a list.
After saving
Keep an independent verified copy where needed. If you are looking for an item deleted from the Drive account, follow the Google Drive recovery guide for the account’s own restoration options.