
For a RAID 0 file-recovery attempt, preserve all member disks and their original layout before scanning. RAID 0 stripes data across disks without parity. Start this workflow with a complete, readable set and known parameters; a missing member or unstable disk needs a separate assessment.
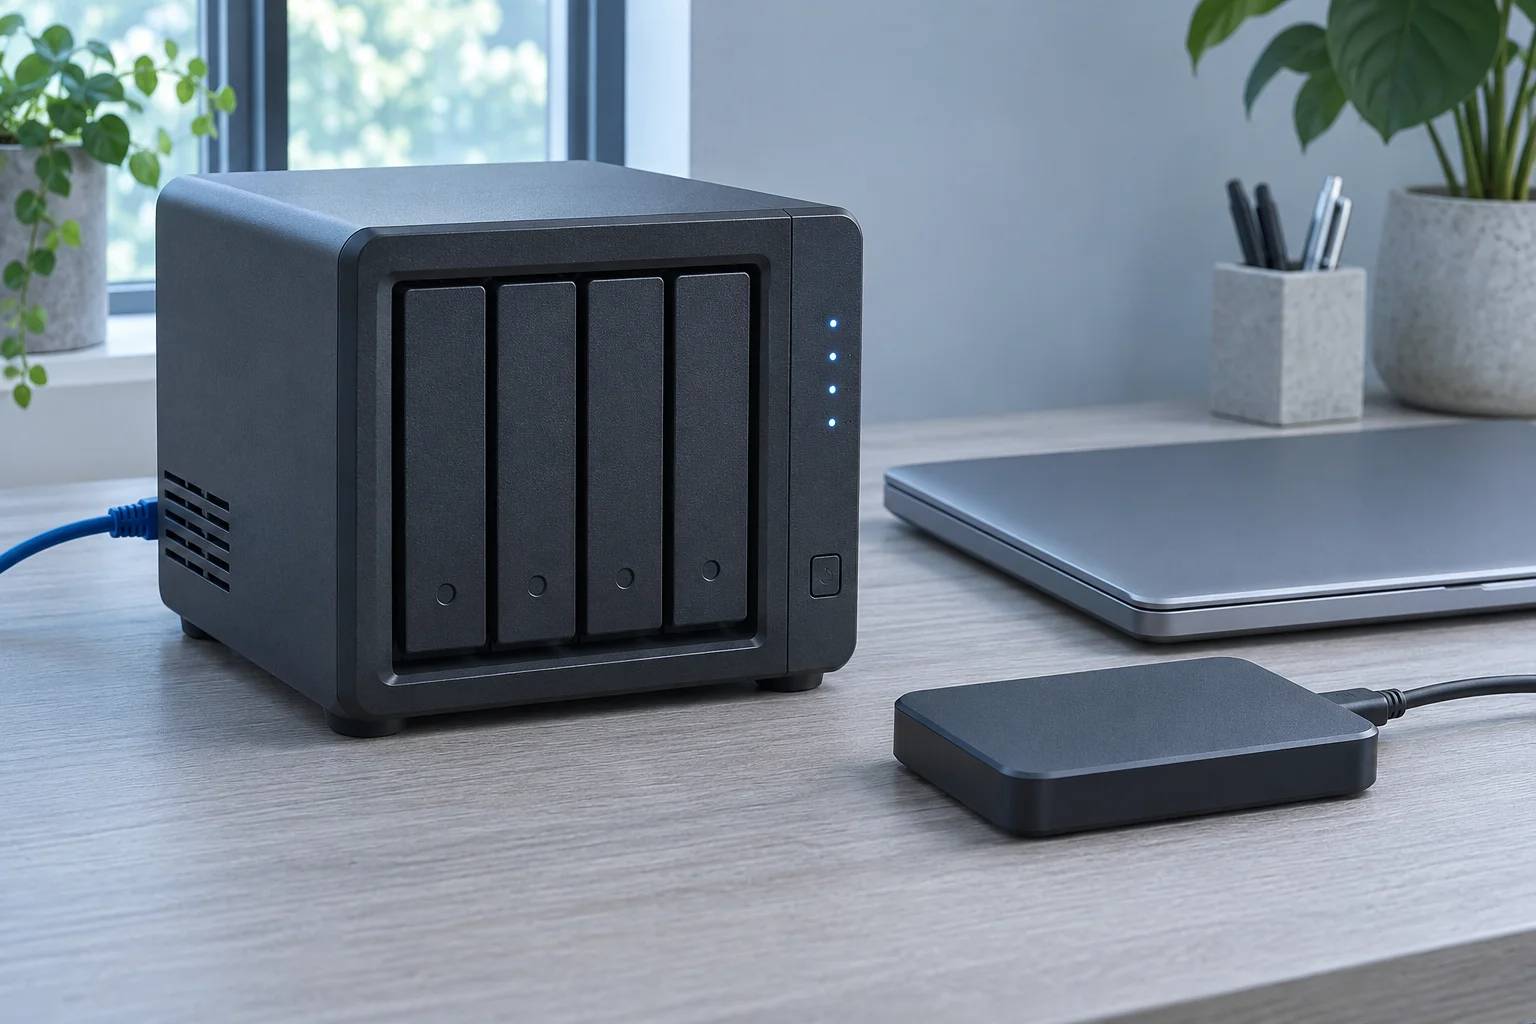
Preserve the member map
Record each disk’s serial number, original slot, capacity and any controller or NAS configuration export. Note the array’s reported level, stripe information, volume boundaries and what happened before the files became inaccessible. Keep physical identity separate from the order in which a new computer detects disks.
If using images, label each image with its source member and acquisition history. A read-error region remains a limitation even when the image has the expected size. Keep recovered output off the member devices and any sole source images.
Confirm the source presented to the application
Determine whether the original platform presents a readable logical volume or whether a supported reader must interpret preserved member inputs. Do not initialize disks or create a new array to make them visible. A newly created array can alter the very configuration you need to preserve.
XRecovery’s documented RAID 0 scope concerns identifiable, readable arrays. It does not promise recovery from a missing-member configuration or automatic inference of unknown striping parameters. If the application cannot recognize the intended source within its documented workflow, stop and retain the configuration for appropriate assessment.
If one member has failed, keep the remaining members and the original slot information intact. Do not initialize a replacement or start a rebuild merely to make the array appear; ask a specialist to assess the failed member and the available sources.
Scan and export the required files
Verify the proposed volume against known folder names, sizes and representative content. In XRecovery, use the RAID source workflow to find and inspect a recognized source; supported original-file preview is free. Treat those clues as checks, not as permission to ignore an uncertain layout. Save output to a separate device.
Start with a few important files from different directories or periods of use. Open them in suitable applications. A large video, archive or document that spans several stripes across member disks can reveal layout errors that a small preview misses. Keep the unmodified exports while checking copies.
Example: distinguish a small file from a striped project
Imagine two complete, readable RAID 0 members with their original order and layout recorded. The application presents a recognizable volume; export a small document and a large video to separate storage. Open the document and inspect the video through its needed duration and sound. If the small document opens but the video has missing sections, record both outcomes and recheck the source and layout rather than concluding that the entire set has been recovered.
Evaluate the result and remaining uncertainty
If a known-good original exists, compare its hash with the exported copy. Otherwise inspect the required content and record the limits of that inspection. One valid file does not certify the entire reconstructed view.
If names look correct but content is mixed, truncated or inconsistent, preserve the output and configuration. Do not repeatedly try guessed orders or write layout changes to the originals as a routine next step. If the layout remains uncertain, keep the source unchanged and provide the member map and output symptoms for specialist assessment.
After verified files are protected, handle array repair or replacement separately. The result of one readable configuration does not certify every controller implementation.
For the next step, see RAID File Recovery: Identify the Array Before Choosing a Route.