
If you deleted photos from an SD card, stop using the card and look for an existing copy before scanning it. When a stable card still contains recoverable image data, a recovery tool may be able to export that data to another device. New photographs, formatting, and other writes can reduce what remains available.
This guide is for accidental photo deletion from a readable SD or microSD card. If the card disappears, becomes unusually hot, or reports no media, start with detection checks. If a format operation ran, use the formatted-card guide, which addresses different uncertainties about surviving metadata.
1. Establish what is missing
Write down the approximate shoot date, camera model, expected image formats, and the last successful import. Check whether you are looking for JPEG, a camera RAW format, or both. A RAW+JPEG recording pair consists of separate files; finding one does not establish that the other was recovered.
Look through previous imports, a second camera card if one was used, backup drives, and your photo library’s deleted-items area. Check the computer’s deletion location only if the photos were actually imported or deleted there. A photograph erased directly by a camera should not be assumed to appear in the computer’s Recycle Bin.
Open any copy you find. A phone share, cloud preview, or contact sheet may help identify the missing image, but may have lower resolution or different metadata than the original. Keep those reference copies; they can help you verify the recovered set later.
2. Prepare the source and destination
Remove the card from the camera after powering it down. Label the protective case so it is not returned to a camera by mistake. Use a reliable reader connected securely to the computer, and prepare a folder on a different physical drive for the output.
The destination should have room for more than the number of photographs you expect. A scan can expose duplicates, embedded previews, and older deleted files. Running out of space halfway through export complicates validation and may lead to unnecessary rescans.
Do not install the recovery application, save a scan session, or place an image file on the affected card. If the card’s full-size adapter has a lock switch, it is not a substitute for a verified write-blocking workflow. The write-protection guide explains how to interpret that switch without relying on it as a guarantee.
3. Confirm that you selected the correct card
Compare the card label, reported physical capacity, and connection to the reader. A drive letter alone is a weak identifier because letters can change. If there are several removable devices, disconnect unrelated storage when safe so that selecting the wrong source is less likely.
If Windows offers to format or initialize the card, cancel that action. A format prompt means the system cannot currently use the volume normally; it does not prove the photographs are absent. If the hardware remains stable and readable, a recovery tool may have options that do not require a mounted volume.
Avoid destructive tests designed to establish the card’s capacity or speed. This stage is about preserving files, not certifying the card for reuse. A card showing inconsistent size or repeated input/output errors needs a different risk assessment before a long scan.
4. Choose a recovery method with a reason
A file-system-aware method can use surviving records to associate file data with names and folders. A signature-based method searches for recognizable file content. These are different sources of information; a deeper scan is not automatically a better answer for every missing photograph.
If a scan finds the expected folder and plausible filenames, first evaluate those results. If it finds no useful structure, a supported signature search may locate image data under generated names. Keep different result sets in separate destination folders rather than overwriting one export with another.
Microsoft’s Windows File Recovery documentation identifies Extensive mode for FAT and exFAT recovery. That is a rule for Microsoft’s tool, not a universal label to look for in XRecovery. For XRecovery’s documented selection and export workflow, use this product guide.
For important data or signs of unstable reads, consider whether a specialist should create an image before further analysis. Do not repeatedly run several applications on an unstable card simply because the first result was disappointing.
5. Evaluate previews without confusing them with originals
Preview images from different parts of the shoot, including early and late frames and any format changes. Check the following before exporting a large selection:
- Does the image match the missing event, rather than an older shoot?
- Is the displayed resolution consistent with an original rather than a small preview?
- Are there gray areas, broken bands, or severe color corruption?
- Are both JPEG and RAW results present if both were recorded?
- Are similarly named files different pictures or duplicate candidates?
A preview can be useful evidence, but it may show an embedded image rather than the complete file. CGSecurity documents that recovery results can include thumbnails and incomplete files. Validate the exported original in a compatible viewer or editor instead of relying only on the scan interface.
XRecovery previews selected mainstream image formats, not every recoverable file type. If a camera RAW format has no preview, an exported candidate may still be readable in a compatible RAW editor. Keep preview availability separate from the test of whether the exported original is intact.
6. Export and verify a representative set
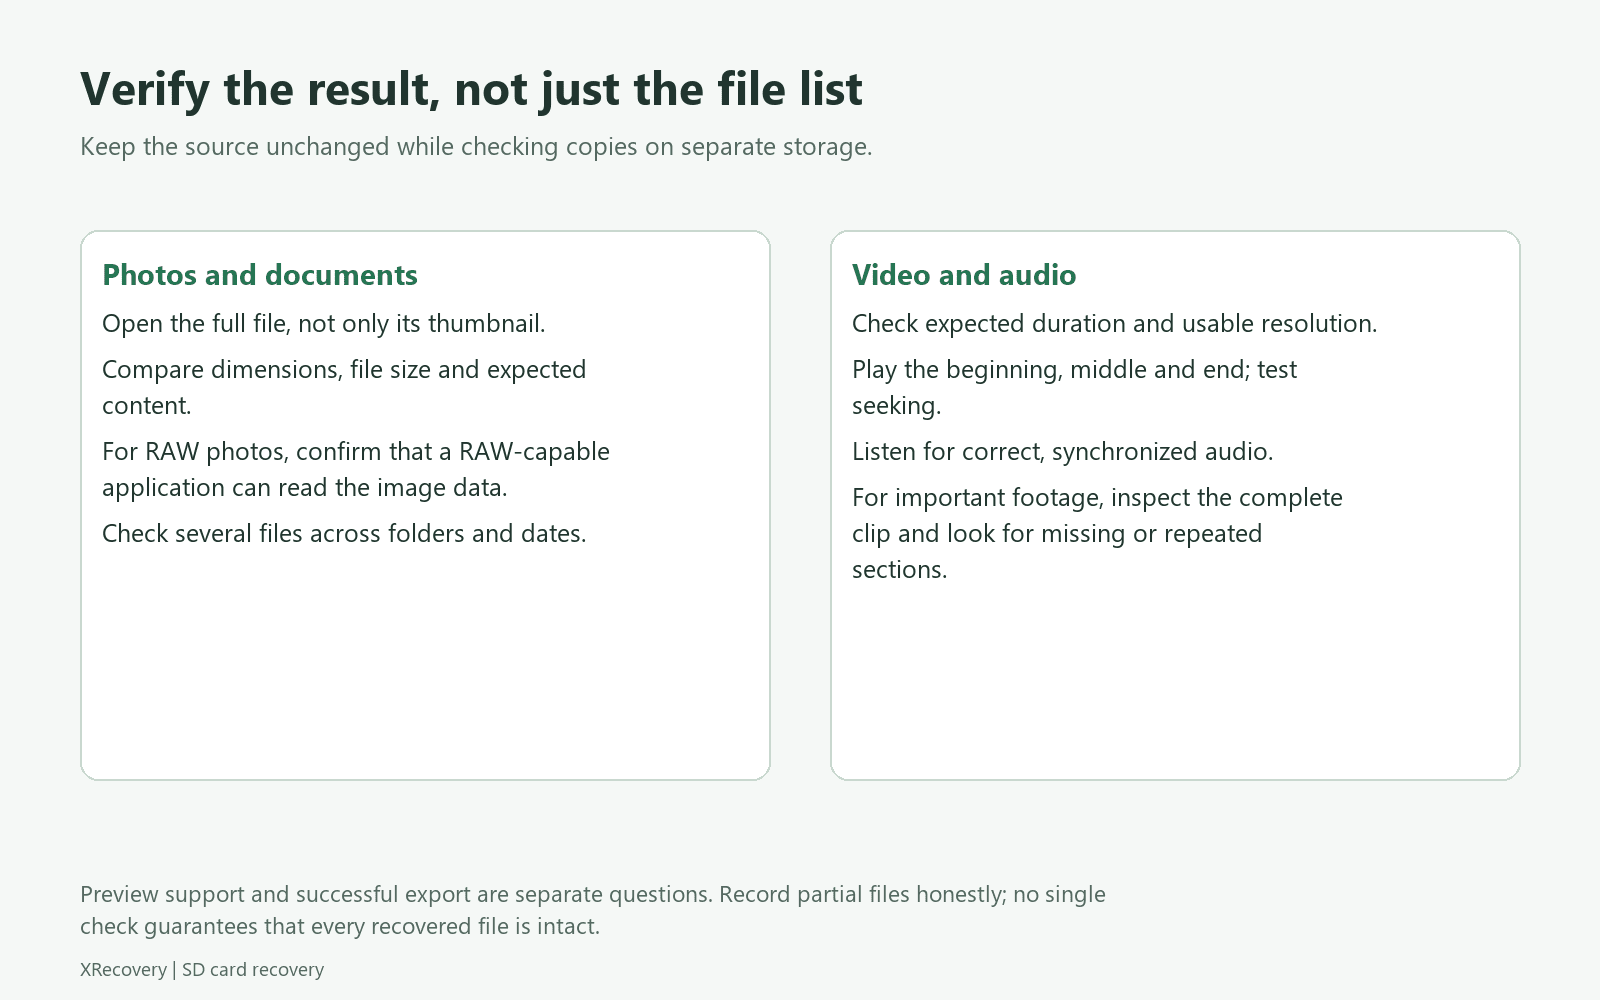
Begin with a useful selection of important files from several dates and formats. Save them to the separate destination. Open the JPEG files at full size and open RAW files in software that supports the camera’s format. A failure in one viewer may require checking format support before concluding that the file itself is damaged.
Compare the result with your missing-file checklist. Inspect a sequence for gaps, not just a total file count. Ten duplicate images and ten unique images are different outcomes even if the recovery application reports the same number.
Once the sample behaves as expected, export the remaining selected files. Keep an untouched export folder and organize copies elsewhere. If you rename files by date or event, retain a mapping to the original recovery names so that you can revisit a questionable result.
7. Investigate incomplete results deliberately
| Result | Useful next check |
|---|---|
| No pictures from the missing shoot | Recheck source identity, date filters, and whether recording continued |
| Only small JPEGs | Check dimensions and whether these are embedded previews |
| RAW files listed but not opening | Check viewer support, alternate candidates, and partial recovery |
| Names missing but images open | Organize by image contents and surviving metadata |
| Many nearly identical files | Compare dimensions, content, and completeness before deduplicating |
| Read errors or disconnections increase | Stop additional scans and reassess preservation options |
Changing an extension does not rebuild missing image data. An image-editing application may improve a damaged copy cosmetically, but that is a different task from recovering the original photograph. Keep any edited reconstruction separate and label it honestly.
Before putting the card back into service
Back up the verified photographs to a second location. Record what is still missing and retain the original card or acquired image while further assessment is possible. Do not erase the remaining evidence merely because most files were recovered.
If the loss was a simple deletion on otherwise reliable media, future reuse can be considered after verification. If the card was intermittent, unexpectedly read-only, or repeatedly corrupting files, replace it for important work rather than assuming recovery proved it healthy.
For the wider decision framework, return to SD Card Recovery. For missing movie clips from the same shoot, follow the separate video recovery and validation workflow.