

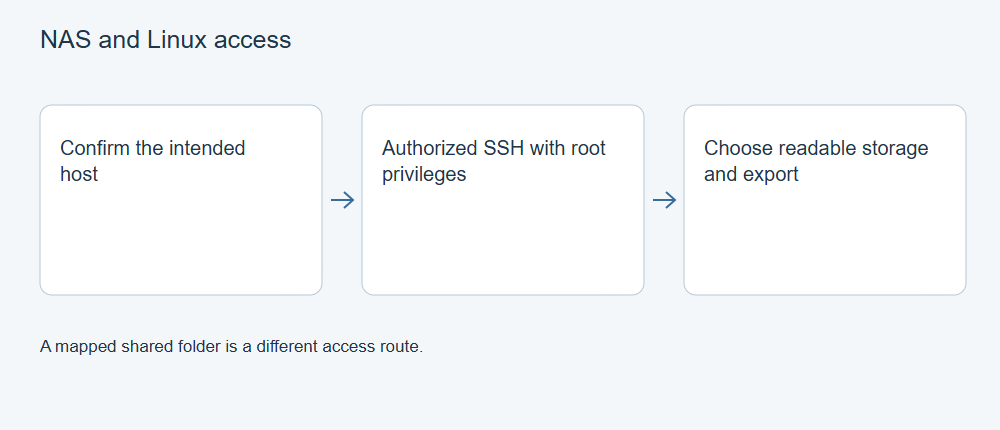
XRecovery’s documented NAS/Linux route requires SSH access and root privileges on an authorized, readable target. Ordinary access to a shared folder is not the same permission. Establish the host and storage you intend to read before opening a connection, and prepare a destination separate from the affected source.
Prepare the target with its administrator
Record the NAS/Linux host, address, expected storage, file system and incident. Ask the authorized administrator to confirm that SSH is available through the intended network route and that the required root access can be used in the supported application workflow. Do not assume that a normal SMB account has that authority.
Use the organization’s permitted connection method. Do not publish passwords, copy session tokens into support messages or expose a management service to the internet merely to make a connection work. If credentials or privileges are unavailable, resolve that condition before scanning.
XRecovery’s NAS access route does not restrict the NAS brand, but the target must still support the access prerequisites. This is remote storage access from the Windows application, not a Linux-native XRecovery client or proof that every volume layout is supported.
Connect to the intended source
Use the NAS/Linux recovery workflow supplied by the installed XRecovery 4.0 build. Enter the authorized host and access details through its normal controls. Follow any component or connection prompts for that build; do not substitute instructions for another release or an unrelated SSH client feature.
After connecting, compare the listed storage with the administrator’s record. Check identity, capacity, file system and the expected volume. A successful sign-in is not proof that you selected the disk holding the missing files.
If you cannot connect, follow the NAS connection troubleshooting guide. If the target storage is unstable, the array layout uncertain or required data encrypted without valid access, address that condition before scanning. Do not initialize or format the source to make a volume appear.
Example: a missing project on an accessible NAS
Suppose a team deleted a project folder from an Ext4 NAS and its recycle bin and snapshots no longer contain the needed version. The NAS administrator confirms the correct host, SSH access and root privileges. In XRecovery on Windows, connect to that target, compare the listed volume’s file system and capacity with the administrator’s record, and select the matching readable volume. Use the supported remote or quick scan route for Ext4.
Browse the original-path and file-type results, search for the project name and use modification-time filters to narrow the candidates. Preview supported files, then save a small selection and required companion files to different storage. Open the project from a working copy and check its assets before recovering the rest.
Scan and export to another destination
Choose the supported source and documented scan route. Documented Ext4 and Btrfs reading uses remote scanning or quick scanning; deep-scan support elsewhere does not establish another mode for these file systems. Inspect relevant results and preview where supported.
Save permitted exports to separate storage. Check the destination identity and available space before starting. Keep the initial exported files before editing, repair or conversion. Ordinary scanning and supported original-file preview are free; recovery and repair share a cumulative 2 GB free allowance that does not reset. Check your remaining balance before exporting, or compare the plans if you need more recovery capacity.
Confirm the result and close the session
Open representative files in their intended applications and inspect the required content and version. Record the source, application build, connection route, scan choice and output location. If the session fails, retain the stage and error details with secrets removed.
Use the application’s normal session controls and the administrator’s access policy when finished. A connected session, visible folder or completed progress bar does not by itself establish complete recovered content or a repaired NAS.
For the next step, see XRecovery 4.0 Support: Find the Right Workflow for Your Next Step.