
Select the storage that held the missing files, scan it, inspect the results, and recover a representative selection to another physical device. Then open the exported files to check their actual contents. This workflow applies to a readable source; a completed scan or visible preview alone does not establish that the recovered files are complete.

Prepare a source and a separate destination
Identify the original file location and the disk or partition containing it. Record a recognizable filename or folder, approximate time of loss, and the file types you need. Check retained copies before scanning: the Recycle Bin, a backup, or another authorized copy may already provide the original.
Connect a healthy output device with sufficient space. If the affected disk contains Windows, avoid installing tools and saving results onto that same storage. Do not accept a format or initialization prompt for a disk whose files you still need.
Select the right device
Compare the device model, capacity, and partition information displayed by XRecovery with your source. Do not rely on a drive letter alone after reconnecting external devices. Unplugging an unrelated removable disk before the operation can reduce confusion, provided it is not being used by another task.
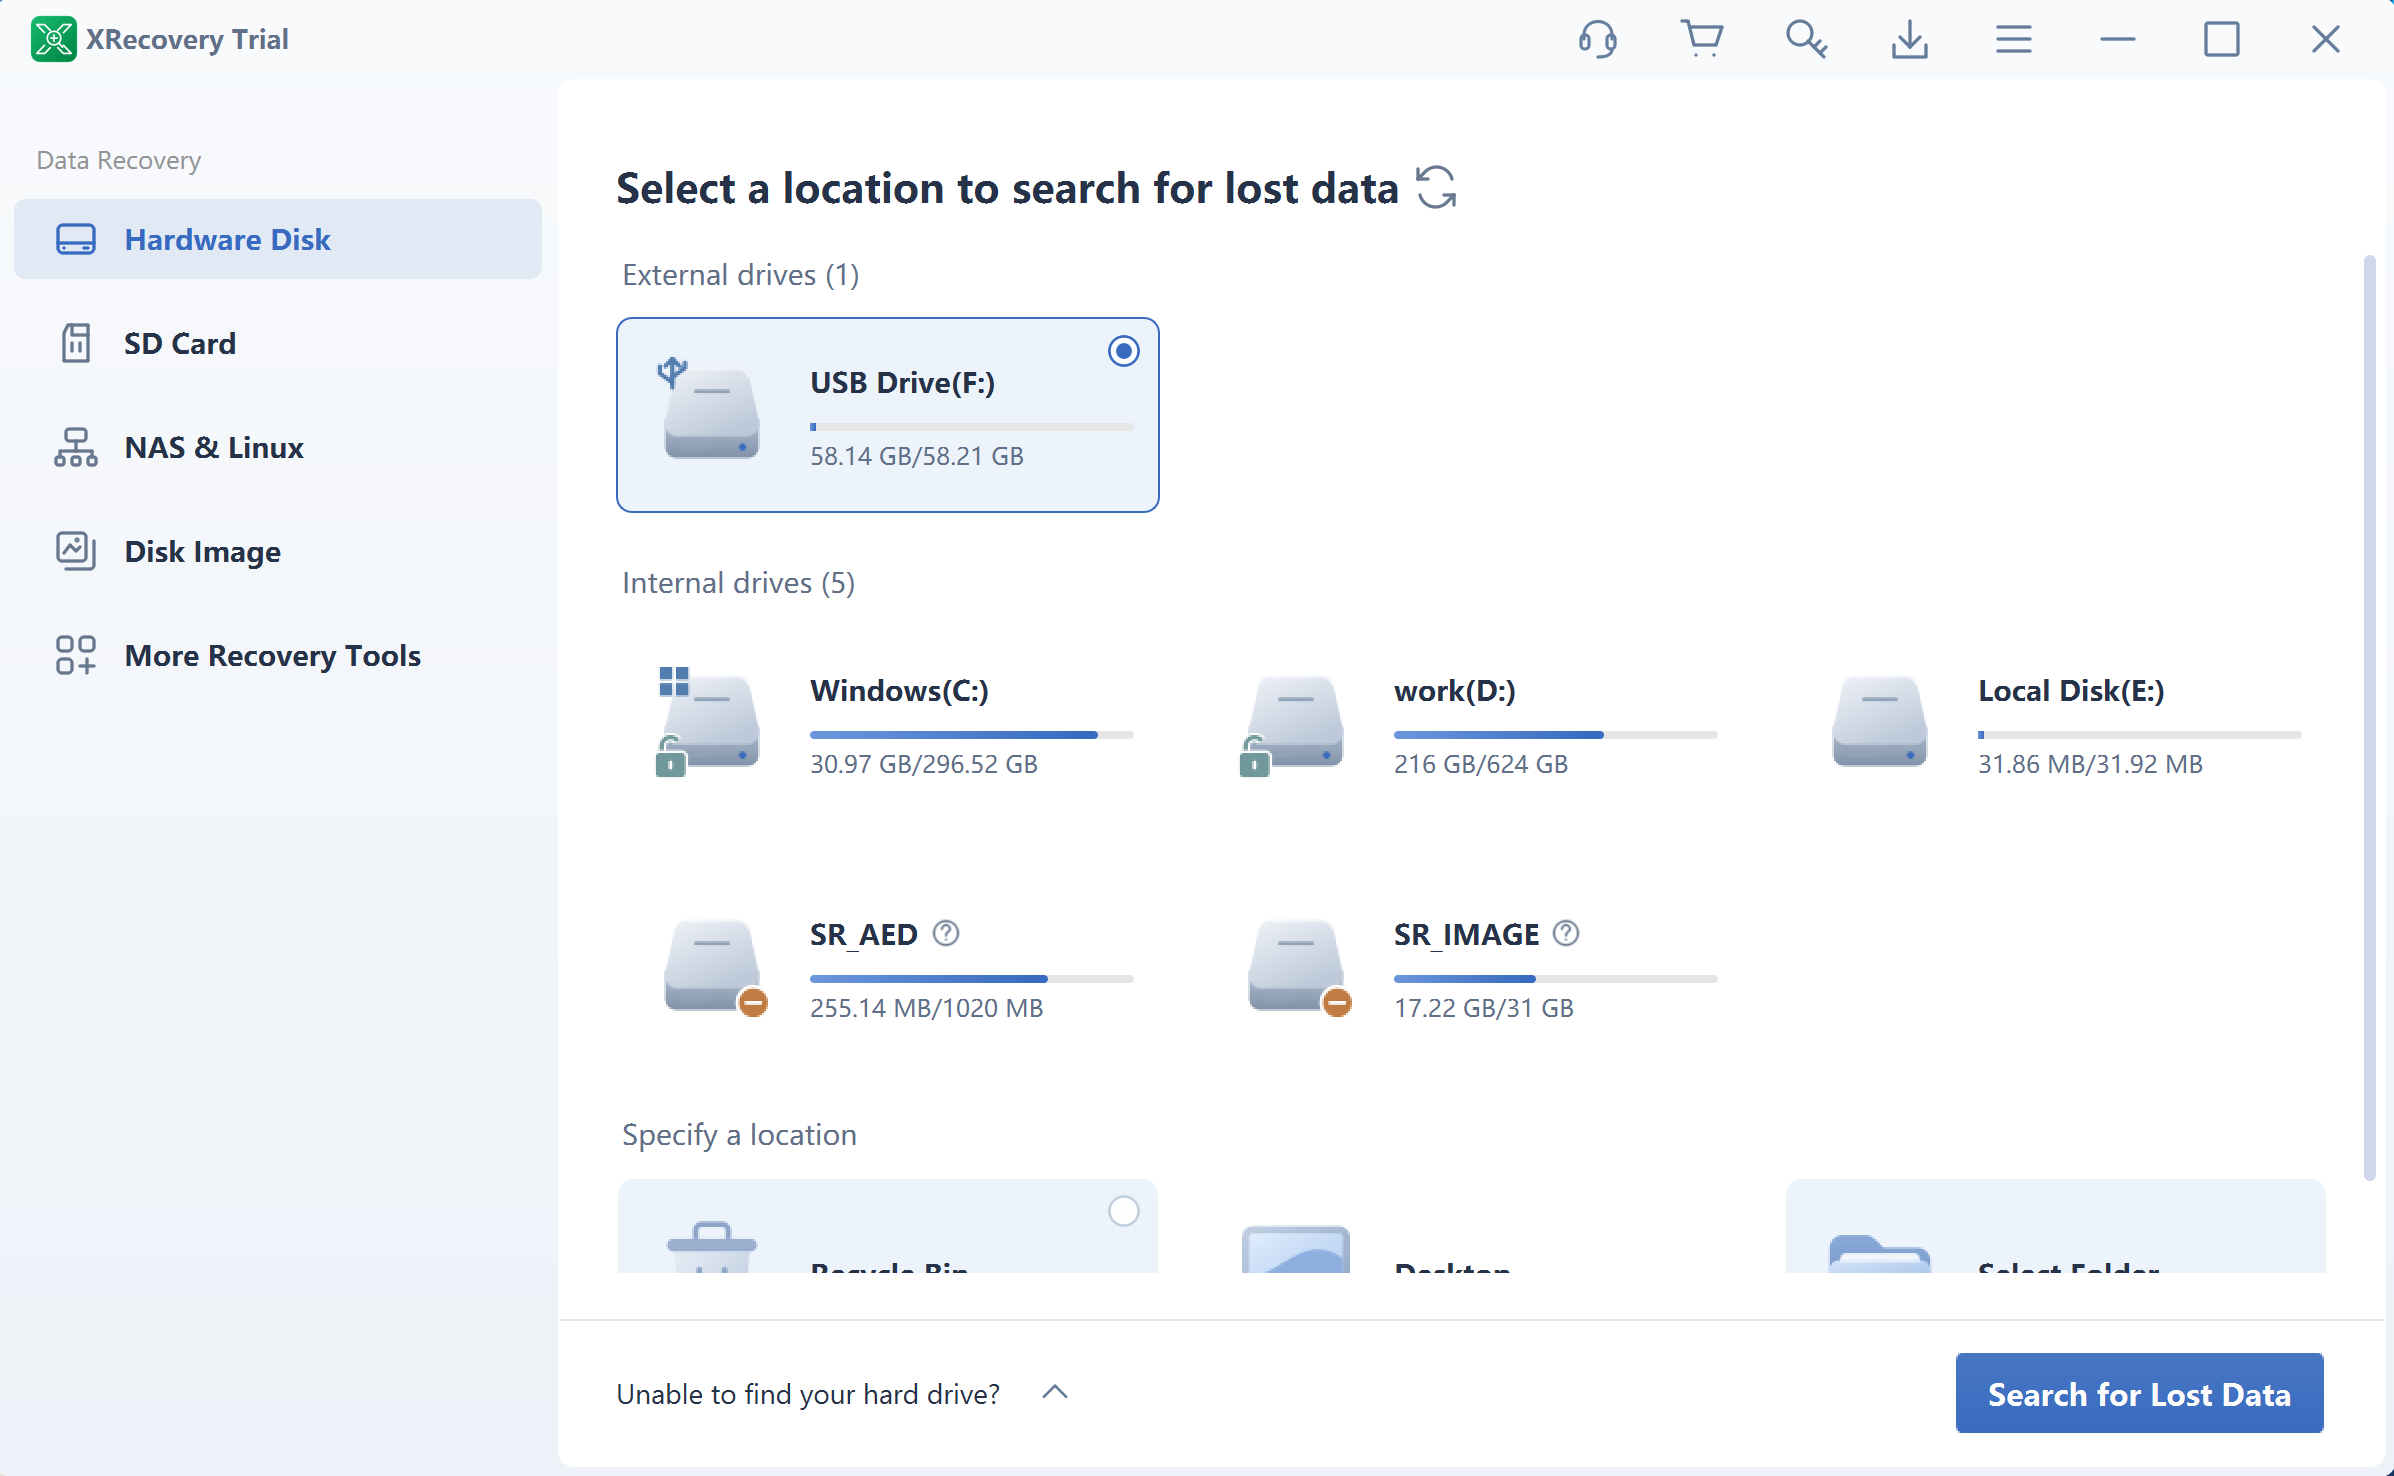
For a loss confined to an existing volume, inspect that volume. If a partition disappeared or its layout is uncertain, examine the containing disk rather than creating a replacement partition. A zero-capacity, repeatedly disconnecting, or otherwise unreadable device needs a device-readability assessment before software scanning.
Scan and inspect more than one view
Start the scan for the selected source and observe whether it remains connected and readable. Scan time depends on the amount and condition of data, storage speed, and the work being performed; no single duration applies to every disk.
Browse original-path results when available. Use type-based results when the directory information is incomplete, and search by name, date, or size to narrow a large set. If a filter yields nothing, remove one condition at a time before concluding that the file is absent.
A named directory result and a signature-derived result may represent the same content. Keep the result’s location in your notes so you can compare exports without assuming that every entry is a separate recovered file.
Preview a relevant selection
Preview supported files to identify the material you need. Include a file central to your task, a larger file, and one from a nested folder when directory preservation matters. A set of small images is not a substitute for checking the large video or document you need to recover.
If a preview is unavailable, distinguish an unsupported preview type from damaged contents. Do not infer either successful recovery or total loss from that one signal. Export a candidate where appropriate and test the actual file in a compatible application.
Recover to the prepared destination
Choose a folder on the separate physical device. Confirm both the destination identity and free space before saving. If a target cannot accept a large file, investigate its file-system limit rather than changing the original source.
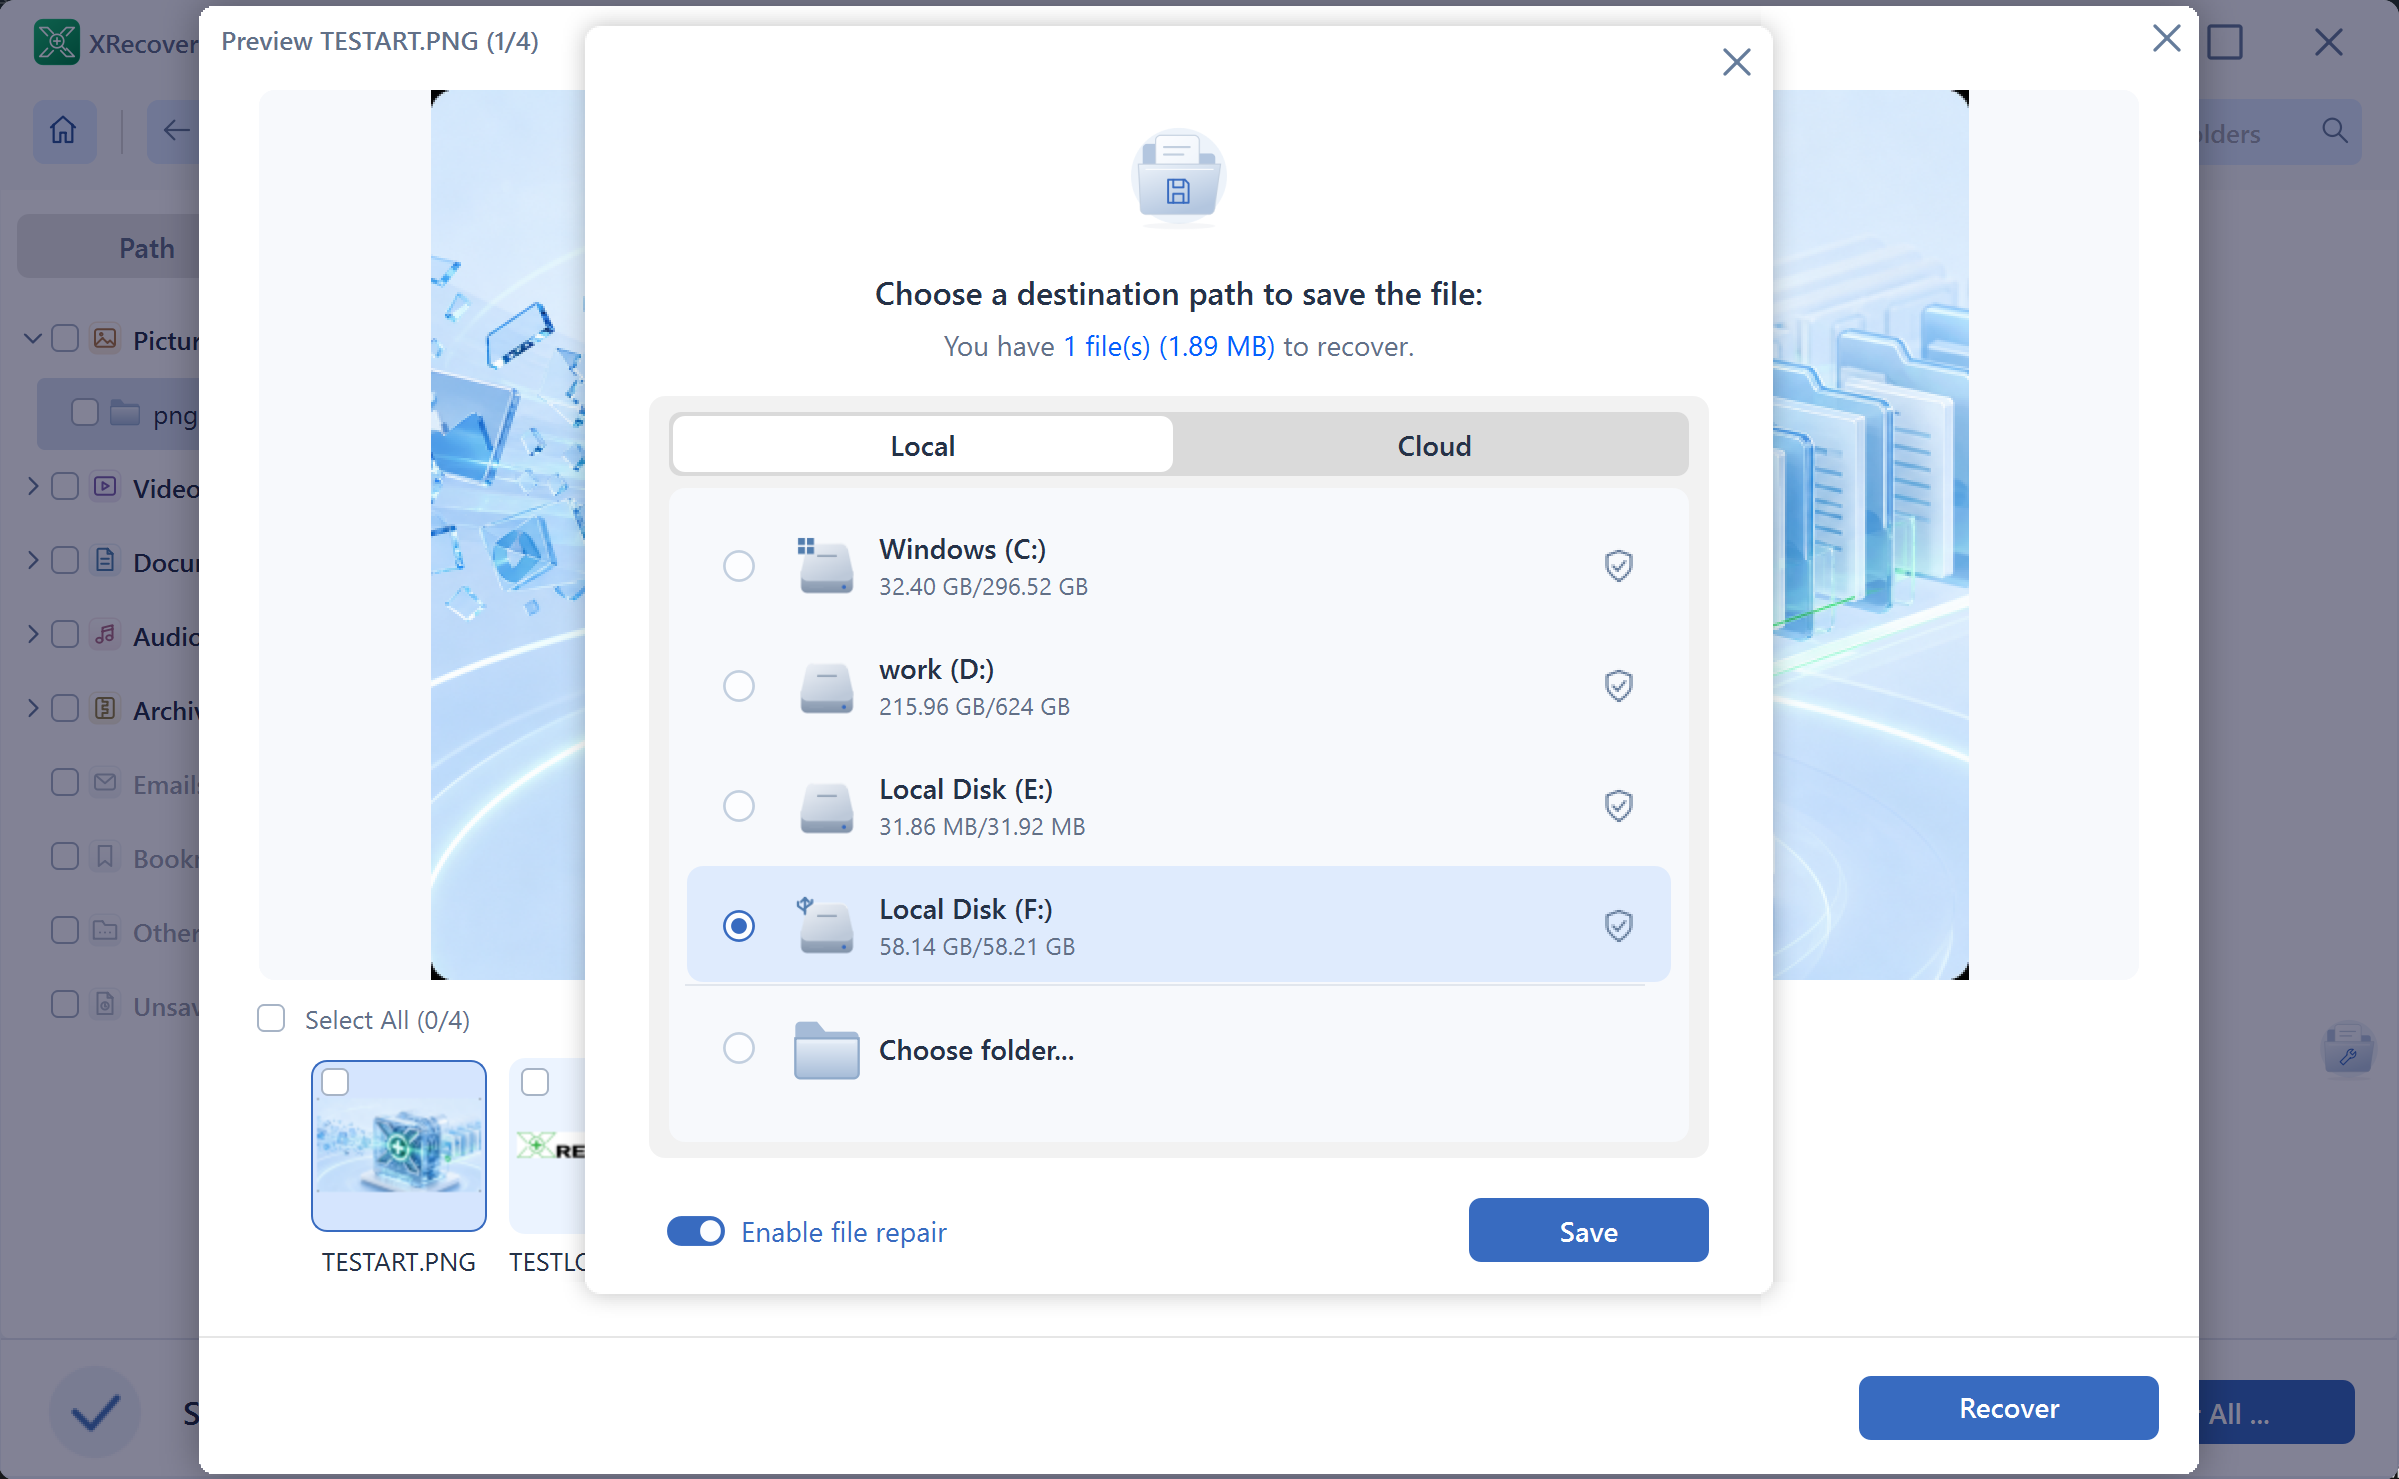
Keep conflicting results or versions in separate destination folders. Preserve useful recovered directory structure, especially for projects with linked assets or repeated filenames. Avoid replacing an earlier usable export with a later uncertain one.
Verify the files outside XRecovery
Open the exported documents, photographs, or recordings in their normal applications. Inspect the pages or content you need, full-resolution image details, and complete media playback as relevant. Compare against a known original or trusted backup when available. Matching file hashes can establish byte-for-byte equality with that reference.
Record files that are usable, incomplete, or still unverified separately. Ordinary scans and supported original previews are free; recovery and repair share a cumulative 2GB free allowance. You can inspect supported previews before deciding whether to buy.
If export fails or the output cannot be opened, preserve the error text, source identity, chosen result, destination, and application version. These details make the next assessment specific instead of repeating the whole recovery without knowing what changed.