
SSD recovery requires different decisions from hard drive recovery. An SSD can remain fast and quiet until a controller, firmware, power, or flash-memory problem makes it inaccessible. When files are deleted, the operating system may also send TRIM commands that allow the SSD to erase unused flash pages in the background. That can remove data before recovery software has a chance to read it.
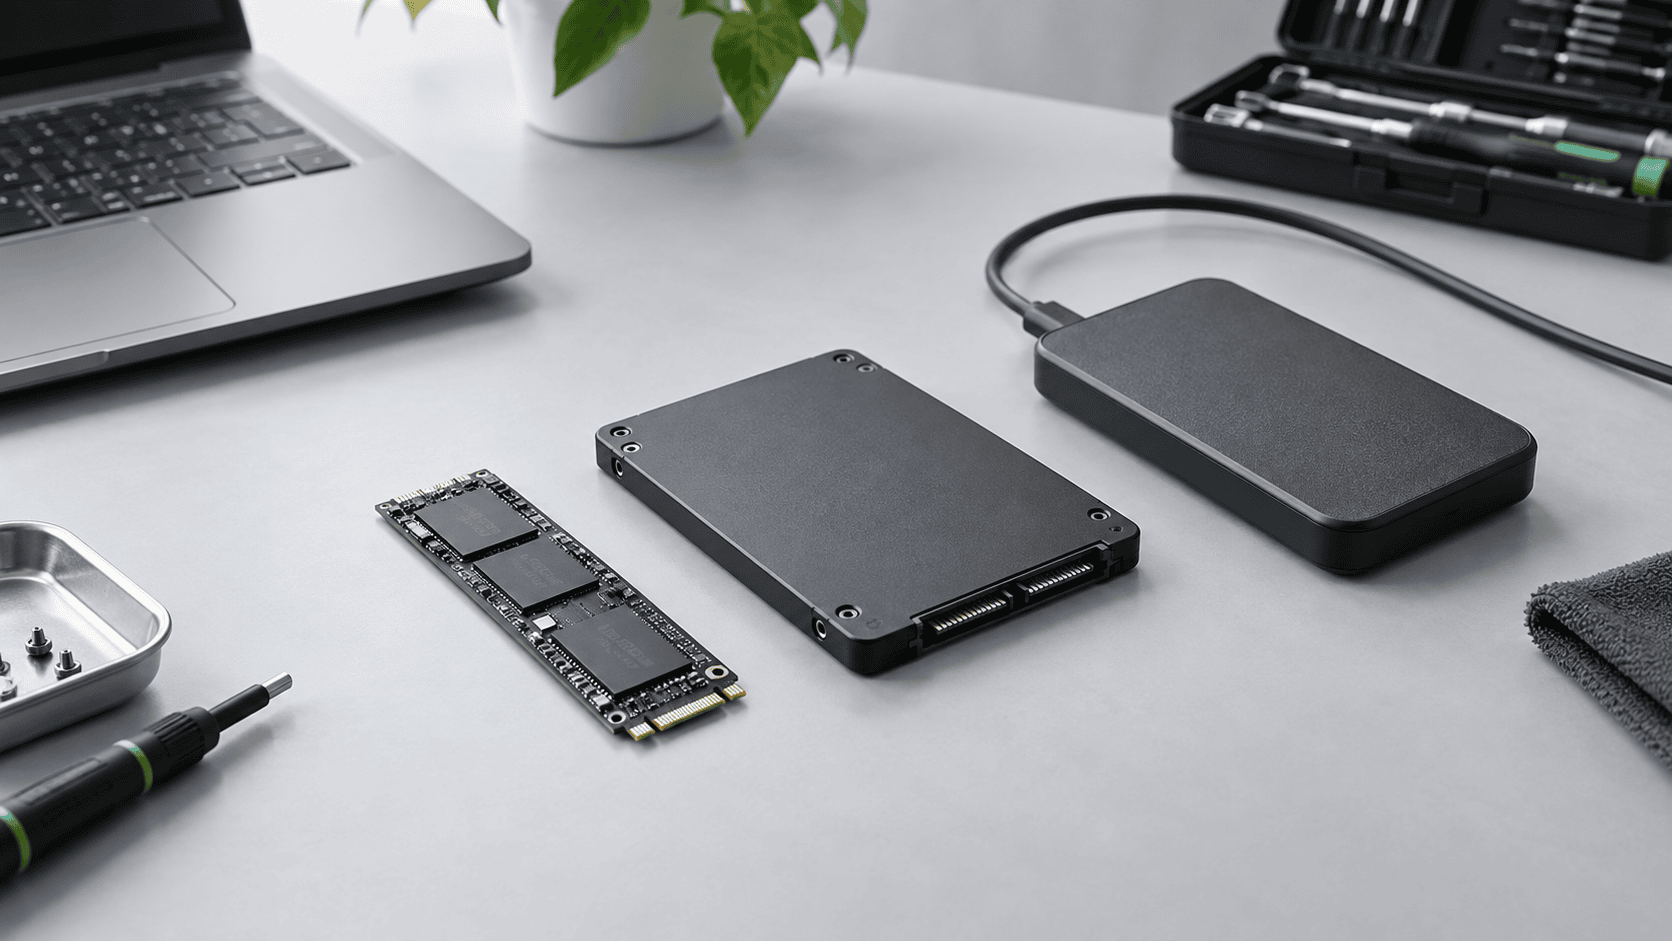
The safest response depends on two questions: is the SSD stable enough to read, and is the loss logical or physical? Stop using the affected drive while you answer them. Do not install recovery software on it, copy new files to it, initialize it, format it, run CHKDSK, or reinstall Windows. Every write can alter file-system records or reuse storage that still contains lost data.
Choose the situation that matches what you see
An SSD that appears in Windows with the expected capacity but has missing files is a logical-loss case. An SSD that appears as RAW, unallocated, or asks to be formatted may still be physically readable even though Windows cannot mount its file system. An SSD that repeatedly disconnects, reports an implausible capacity, freezes the computer, overheats, or is absent from both firmware setup and Disk Management may have a device-level fault.
Software can only scan a source that Windows exposes as a stable disk, partition, or external device. If the SSD is unstable or not detected, repeated power cycles and repair attempts can reduce the chance of a later laboratory recovery.
Deleted files: check TRIM before expecting a result
Windows commonly enables TRIM for SSDs. After deletion, the operating system can tell the drive which logical blocks are no longer needed. The SSD controller may then remove the underlying data during garbage collection. The timing is not predictable from the filename, and a scan cannot reconstruct bytes that the controller has already erased.
Check the Recycle Bin, File History, OneDrive version history, application backups, and other synchronized copies first. If no copy exists, shut down the affected system and avoid booting from that SSD. A scan can still be reasonable when the device is stable, but the result must be treated as evidence rather than a promise. Files found by name may be incomplete, and a signature scan may find data without original names or folders.
Formatted, RAW, or inaccessible SSD
A quick format, damaged partition table, or corrupted file system does not always erase every file body immediately. On an SSD, however, formatting may also trigger TRIM across a large range. Reformatting again or creating a new partition adds more changes. Observe the disk in Windows Disk Management, record its reported capacity and layout, and do not initialize it merely to make it browseable.
If Windows recognizes a stable physical disk, XRecovery can scan the disk or partition. XRecovery 3.1.6 runs on Windows. It can scan Windows-recognized partitions, disks, and external devices, including attached media that contains supported Mac or Linux file systems. It does not run natively on macOS or Linux.
Failing or unstable SSD
Separate logical symptoms from hardware symptoms. File-system errors can make a healthy device appear inaccessible. Repeated disconnects, timeouts across unrelated regions, changing capacity, severe heat, or disappearance from system firmware point toward a less stable source.
When the drive is readable but deteriorating, a byte-for-byte image or clone can preserve the current readable state. XRecovery supports direct partition or disk byte copying and can load an image for scanning. Bad regions can time out and be skipped so scanning continues, but skipped bytes remain unavailable. If the source is unstable, uniquely valuable, encrypted, or involved in legal work, stop and consult a professional recovery service before prolonged scanning.
A controlled software-recovery workflow
- Stop writes to the SSD and prepare a different physical disk for recovered files.
- Attach the SSD to a Windows computer without formatting or repairing it.
- Confirm that Windows reports a stable device with a plausible capacity.
- If the drive is degrading but readable, consider creating a byte copy first.
- In XRecovery, select the correct disk, partition, or loaded image and start scanning.
- Let the quick phase complete; the deep phase starts automatically afterward.
- Preview representative files and review both file-system and signature-based results.
- Recover to another physical device. XRecovery warns against the source as a destination; do not override that warning for important data.
- Open and validate the exported files before changing the original SSD.
The free allowance is 2 GB in total. XRecovery supports common photo, video, and document formats rather than every possible format. Preview support also varies by format, so lack of a preview is not by itself proof that a file is unusable.
Encryption changes the recovery boundary
BitLocker, device encryption, hardware encryption, and application-level encryption can make intact sectors unreadable without the correct key and metadata. Do not disable, reset, or recreate security settings on the source as an experiment. Record whether the volume was unlocked, retain recovery keys, and preserve the original device or image.
How to judge the result
A successful scan is not the same as a successful recovery. Open documents beyond their first page, extract archives, inspect full-resolution photos, and play videos through several points with audio. Compare expected folders, dates, sizes, and counts with another record when available. Keep the original SSD unchanged until the recovered set exists in at least two locations.
Use the supporting guides for a failing SSD or deleted-file case when those descriptions match your situation. The general rule remains the same: preserve the source, identify the failure boundary, scan only a stable device or image, recover elsewhere, and verify the files.
Is there a meaningful average SSD recovery success rate?
A percentage without the failure type, SSD model, sample selection and definition of success cannot predict your result. A study of readable logical failures does not describe an SSD with missing controller access, erased ranges or unavailable encryption keys. Ask what data a reported rate measures and whether it counts partial recovery as success. For your case, prioritize preserved source access and validated exports over a general marketing percentage.