A failing SSD can change from readable to unavailable without the mechanical warning sounds associated with a hard drive. The first goal is therefore not to repair the device. It is to preserve the best readable state while the controller and flash memory still respond.
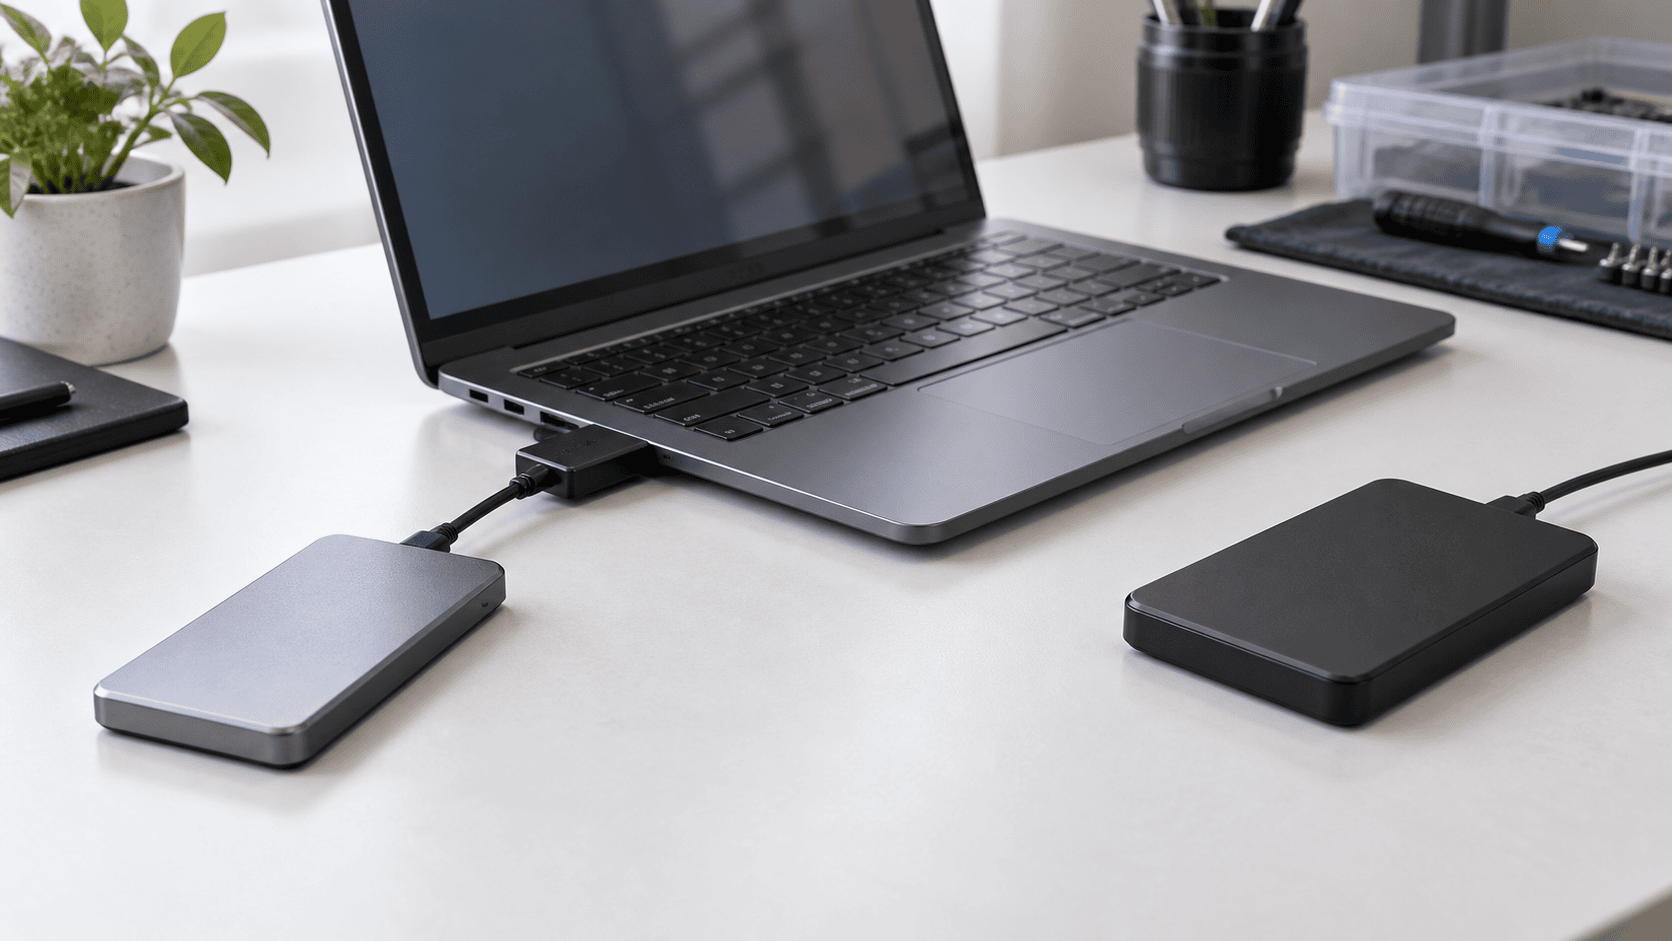
Stop normal use as soon as files become inaccessible, read errors increase, the SSD disconnects, Windows freezes during access, or the reported capacity changes. Do not run benchmarks, firmware updates, secure erase, CHKDSK, formatting, or an operating-system reinstall. These actions add reads, writes, resets, or metadata changes that do not preserve lost files.
Decide whether the drive is stable enough for software
Check the device once in system firmware and Windows Disk Management. A stable SSD should remain present and report a plausible model and capacity. A missing drive letter alone can be a volume or mount issue. A device that vanishes, reports zero or wildly incorrect capacity, becomes unusually hot, or repeatedly stalls the host is a different case.
Software recovery requires Windows to expose a readable device. If the SSD is not detected as a physical disk, ordinary scanning software cannot address its blocks. Repeated adapters and power cycles are not a recovery strategy for a failing controller. Stop when the data is valuable or symptoms worsen.
Prefer a byte copy when the source is deteriorating
If the SSD remains readable but errors are increasing, create a sector-level image or clone to another healthy device before a long file scan. XRecovery supports direct disk byte copying and partition byte copying. It can also load an image for a later scan and save or restore a scan session.
A byte copy is not a repair and cannot read data that the device no longer returns. Bad or unreadable regions can time out and be skipped so work continues. Record which areas failed and keep the original untouched. If imaging causes repeated resets, severe slowdowns, or loss of detection, stop rather than force more passes.
Scan the stable source or image
XRecovery 3.1.6 runs on Windows and can scan disks, partitions, and external devices recognized by Windows. Install and run it from a different disk. Select the source by capacity and connection, then start the scan. The quick phase runs first and the deep phase begins automatically.
Review file-system results and signature-based results. File-system metadata can preserve names, folders, and timestamps; signature recognition may find content when those records are damaged but may not preserve the original organization. Preview representative files where supported.
Recover a sample to a different physical device before exporting a large set. The program blocks the scanned source as the destination by default and allows a user to override the warning. Do not override it: writing recovered files back to the source can replace other recoverable content.
Account for TRIM and encryption
If the loss followed deletion or formatting, TRIM and garbage collection may already have removed unused flash pages. A controller that returns zeros for trimmed ranges leaves software nothing to reconstruct. Continued uptime can give background cleanup more opportunity to run.
For BitLocker, device encryption, or hardware-encrypted SSDs, retain the recovery key and the original controller context. Intact encrypted bytes are not useful without the information required to decrypt them. Avoid resets or configuration changes that can invalidate access.
Validate exported data
Open files from the destination, not from the scan result alone. Test documents, archives, photos, databases, and videos with suitable applications. For videos, play through multiple positions and verify audio; a thumbnail only proves that a small portion was readable. Compare important file sizes and counts with backups or project records.
Keep the source and first image unchanged until the recovered set is verified and backed up. If key files are incomplete, the preserved source leaves room for a different method or professional evaluation.
When to use a professional service
Stop DIY work when the SSD is physically damaged, missing from firmware, unstable under light reading, severely overheated, or protected by encryption whose context is at risk. Professional work may require controller-specific procedures and direct access to flash components. It is most justified when the data is unique, business-critical, legally sensitive, or worth more than the cost of further attempts.
For a stable device with a logical problem, a controlled scan can be appropriate. For unstable hardware, preservation and restraint matter more than completing one more scan.