
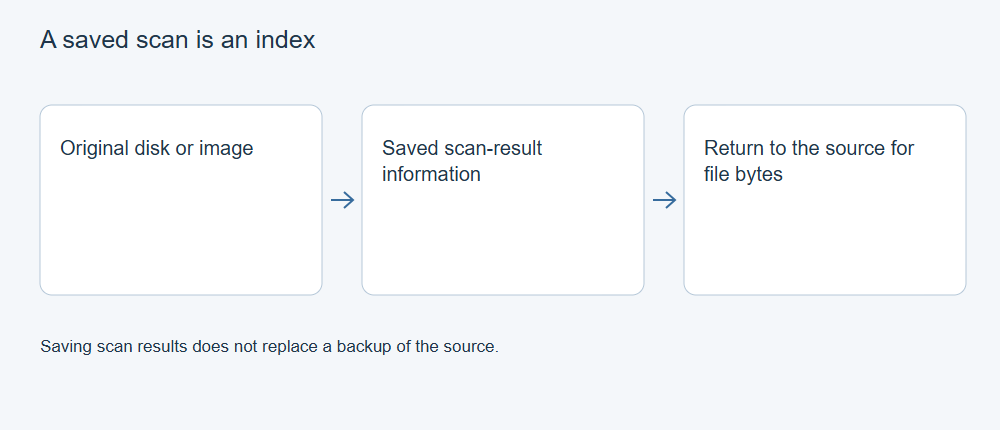
Saving scan results lets you return to information found during a search, but it does not replace the original disk or image. Keep the corresponding source connected and unchanged when you later need to read file contents. Export the files you need to an independent destination and verify them separately.
Understand what you are preserving
A scan result describes findings from a particular source. A disk image contains a captured range of source storage. Recovered files are the individual outputs you save. These serve different purposes even when you keep them in the same recovery project.
If you save results and disconnect or lose the original source, you have not saved the contents of every listed file. A useful directory listing is not a substitute for the bytes needed to preview or recover the files.
Save the results with enough context
Use XRecovery’s supported scan-result saving function and place the result file on working storage separate from the source. Give it a descriptive name that identifies the source and session without exposing private file names unnecessarily.
Alongside it, record the application version, source model and capacity, selected disk or partition, date, and whether the scan was complete or partial. For an image-based search, record the image path and the specific image used. A record that says only “USB scan” becomes ambiguous after several devices or attempts.
Keep the saved file intact. If you later produce another result set with a different scope, preserve it under a distinguishable name rather than overwriting the only useful session without checking what changed.
Load with the corresponding source available
Reconnect the original device or make the original image available before loading the saved scan information. Verify the source by identity and capacity, not by a drive letter that Windows may have reassigned.
Load the result in XRecovery and inspect a known candidate. Then preview or export a representative file as appropriate. If the source changed after the first scan, an old file listing can point to locations whose contents no longer match what the scan found.
Do not substitute another similar disk or an unrelated image just because it has the same nominal capacity. The saved results depend on the contents of the original source.
If the source is missing
Treat unavailable file contents as a source-access problem. Reconnect the correct device, resolve its legitimate access requirements, or locate the preserved image. Repeatedly opening the saved result file cannot make disconnected data readable.
If the original was encrypted, preserve the required credentials through your normal secure process; saving a scan result does not establish that encryption can be bypassed later. Keep license codes and recovery keys out of ordinary result notes and screenshots.
If the source has become physically unstable, assess safe handling before attempting to read every listed file. The existence of an earlier successful scan does not guarantee that the device can still supply the same data.
If a result file will not load
Preserve the original result file and record the application version that created it, the version now loading it, and the exact message. Confirm that the saved file itself was copied completely and is available locally.
Do not assume result files are interchangeable across every application version or represent a universally portable format. Seek a version-specific assessment before replacing the only copy or altering the source.
Where a new scan is appropriate, keep it distinguishable from the earlier work. Judge newly exported files on their contents rather than assuming they are identical to candidates listed in the previous session.
Finish with verified file copies
Save the important files to another physical device, open them in their intended applications, and keep a second copy of the verified output. Retain the source or image until you have completed the checks that matter to your task.
Your recovery notes should make it clear which item is a saved search, which is the source image, and which files have actually been exported and verified. That distinction makes later continuation far less uncertain.