
To recover missing dash cam footage, first preserve any recording that is still available and prevent further reuse of its storage. A deleted clip and an overwritten recording are different problems: software can search retained data, but it cannot reconstruct the original scene from bytes that have been replaced. Before switching the camera off, check whether its retention settings delete unsaved recordings at shutdown.
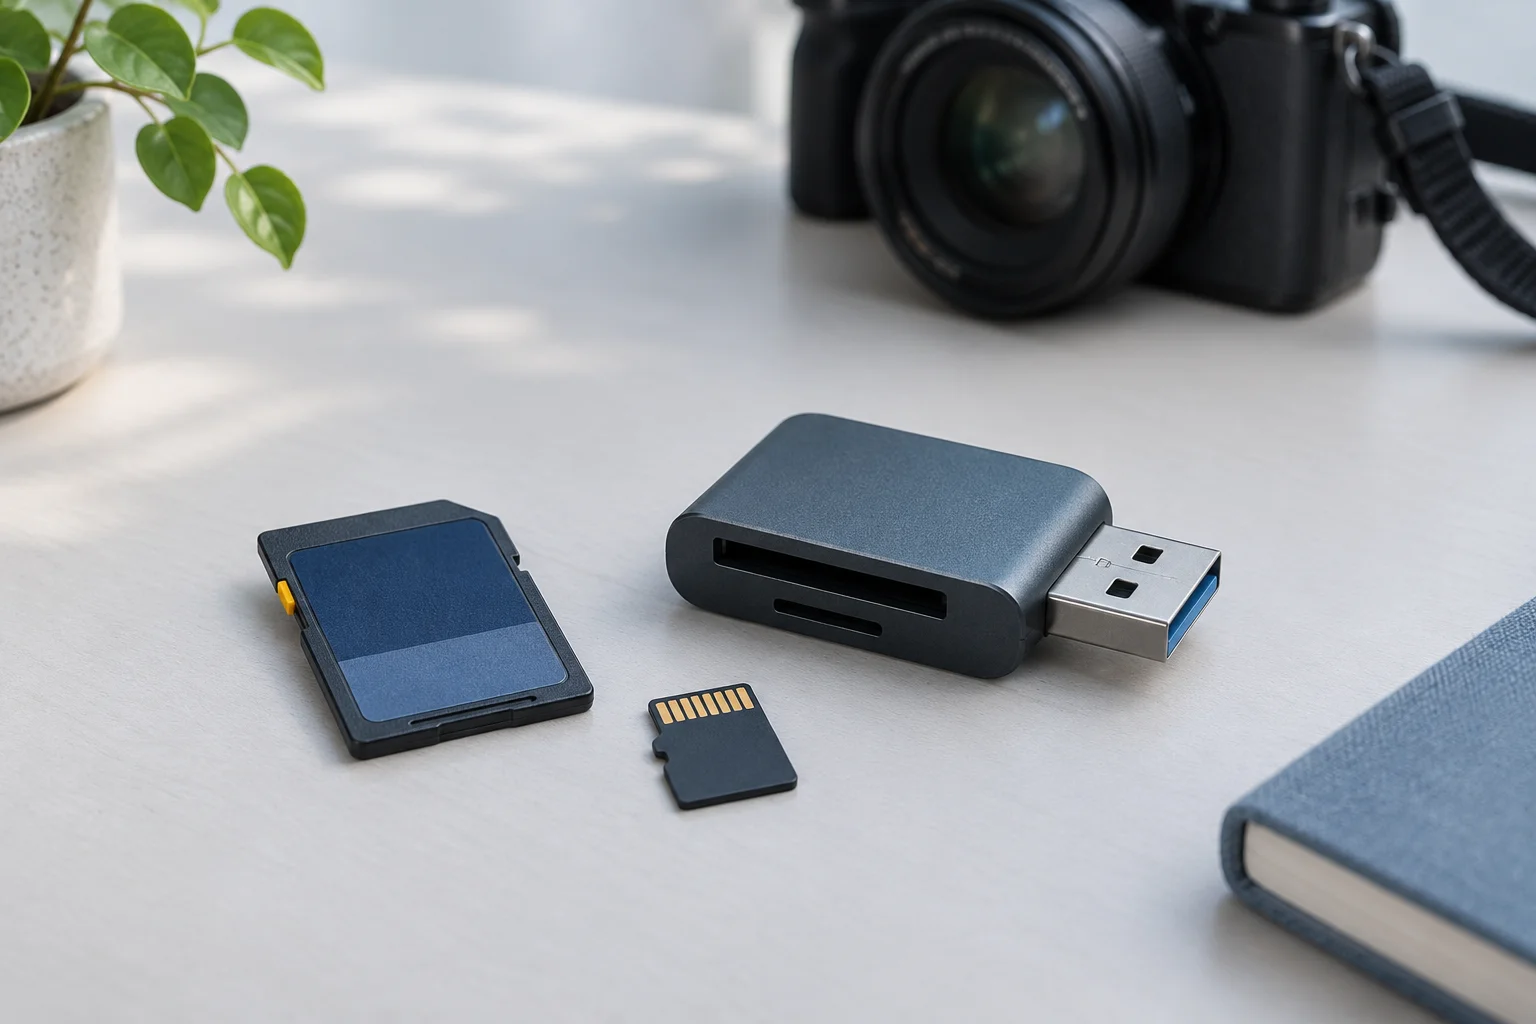
Preserve the recording before searching for deleted files
If you are driving, stop somewhere safe before operating the camera. If the incident is still visible in playback, use the model’s documented save or export procedure and verify the copy on another device. Do not continue recording simply to see whether the missing clip returns.
The correct shutdown sequence depends on the camera. Garmin’s Dash Cam 46/56/66W manual says normal recording replaces the oldest unsaved video when the card fills. It also describes a regional option that removes unsaved video older than three minutes and deletes all unsaved video at power-off. Saving available footage before shutdown matters when that option applies. This is a documented example, not a rule for every dash cam. Garmin recording and retention settings.
Avoid pulling a card while the camera is writing. After preserving accessible footage and following the manufacturer’s stop procedure, remove the card and keep it out of the recorder. Record the model, approximate incident time, displayed camera time, and whether recording continued afterward. These details make the search more useful than a guess about the filename.
Check the right places for the incident
On a stable, readable card, copy the existing folder structure to a different drive before changing filenames or editing clips. Look through ordinary recordings, saved or protected events, and separate camera-channel folders where the model uses them. A front-camera clip does not establish that a rear-camera clip was recorded or preserved.
Search a time range around the incident. Compare the camera’s clock with a known event rather than assuming its timezone or clock was correct. Examine the last clip before the expected time and the first clip after it. The event may cross a file boundary or appear in a clip whose start time is earlier than expected.
Also check exports you previously made to a phone or computer. Keep their origin clear. A shared or compressed copy can still contain useful footage, but its resolution and duration may differ from the camera original. Do not delete an accessible copy while searching for a better one.
Decide whether a card scan is appropriate
A recovery scan is a reasonable next step when the card remains consistently readable and the required file is absent. Save results to a different physical device. Do not format the source, run a filesystem repair on it, or record a replacement test clip to the same card.
If preserving the card’s readable contents is practical, you can create an IMG disk image in XRecovery and scan it later; see how a sector image provides a separate source for later scans. Keep the initial image unchanged and work from a copy. Imaging still reads the card; repeated disconnects, increasing read errors, or visible damage call for a different assessment rather than more unattended retries.
XRecovery can scan supported storage that Windows exposes as a readable disk. A microSD card connected through a suitable reader can meet that requirement; seeing a camera in a photo-import window does not establish sector access. Recovery remains conditional on readable, retained data. No camera-brand label or file count proves that a particular recording can be restored.
Search for useful intervals, not just large files
Keep a simple inventory of candidates: recovered filename, byte size, reported duration, camera channel if known, and the visible first and last events. Preserve the original scan output separately from renamed working copies.
Start with candidates near the expected time, but also inspect files with missing or implausible dates. Recovered metadata may not provide a reliable chronological order. A familiar filename can identify a candidate without proving that its contents are intact.
Do not infer completeness from size. A large file can contain unreadable sections or unrelated data; a short clip can be the entire surviving interval. If a file opens, examine the event itself and the surrounding seconds, including audio when present. If it freezes or ends early, record that limitation instead of describing the whole incident as recovered.
Understand the limit of loop recording
Loop recording creates continuing pressure on the same storage. The elapsed time after an incident alone cannot establish what survived: recording settings, free space, saved-event behavior, and subsequent use all matter. A clip missing from the menu does not prove overwrite, and a recovery tool listing a filename does not prove survival.
If the original data has been replaced, another scan cannot recover those replaced bytes. The practical alternatives are other existing copies or another recording of the event. Keep surviving intervals even when the complete incident is unavailable, but label gaps clearly and avoid filling them with duplicated frames or unrelated footage.
Verify and retain the result
Play the exported candidate through the relevant interval on the destination drive. Check the picture, duration, audio, channel, and continuity across adjacent files. Keep the source card, acquisition notes, recovered originals, and any edited viewing copy separate until you no longer need them.
A checksum can help detect later changes to a particular copy; it does not by itself establish when the scene was recorded or how a recording should be interpreted. Preserve the facts you can observe and describe uncertainty explicitly. A useful recovery result is an identifiable, verified interval—not merely a successful export message.
For an existing damaged MP4, MOV, AVI, TS, MTS or M2TS recording that still contains video data, XRecovery also offers video repair. Preserve the original file, try repair on a copy and check its full timeline before replacing any working version.