
If an old hard drive is readable, you usually need a compatible connection and a separate destination, not an attempt to boot its old Windows installation. Copy existing files first. Use recovery scanning only for files that are actually missing or inaccessible, and stop if the disk shows physical-failure symptoms.
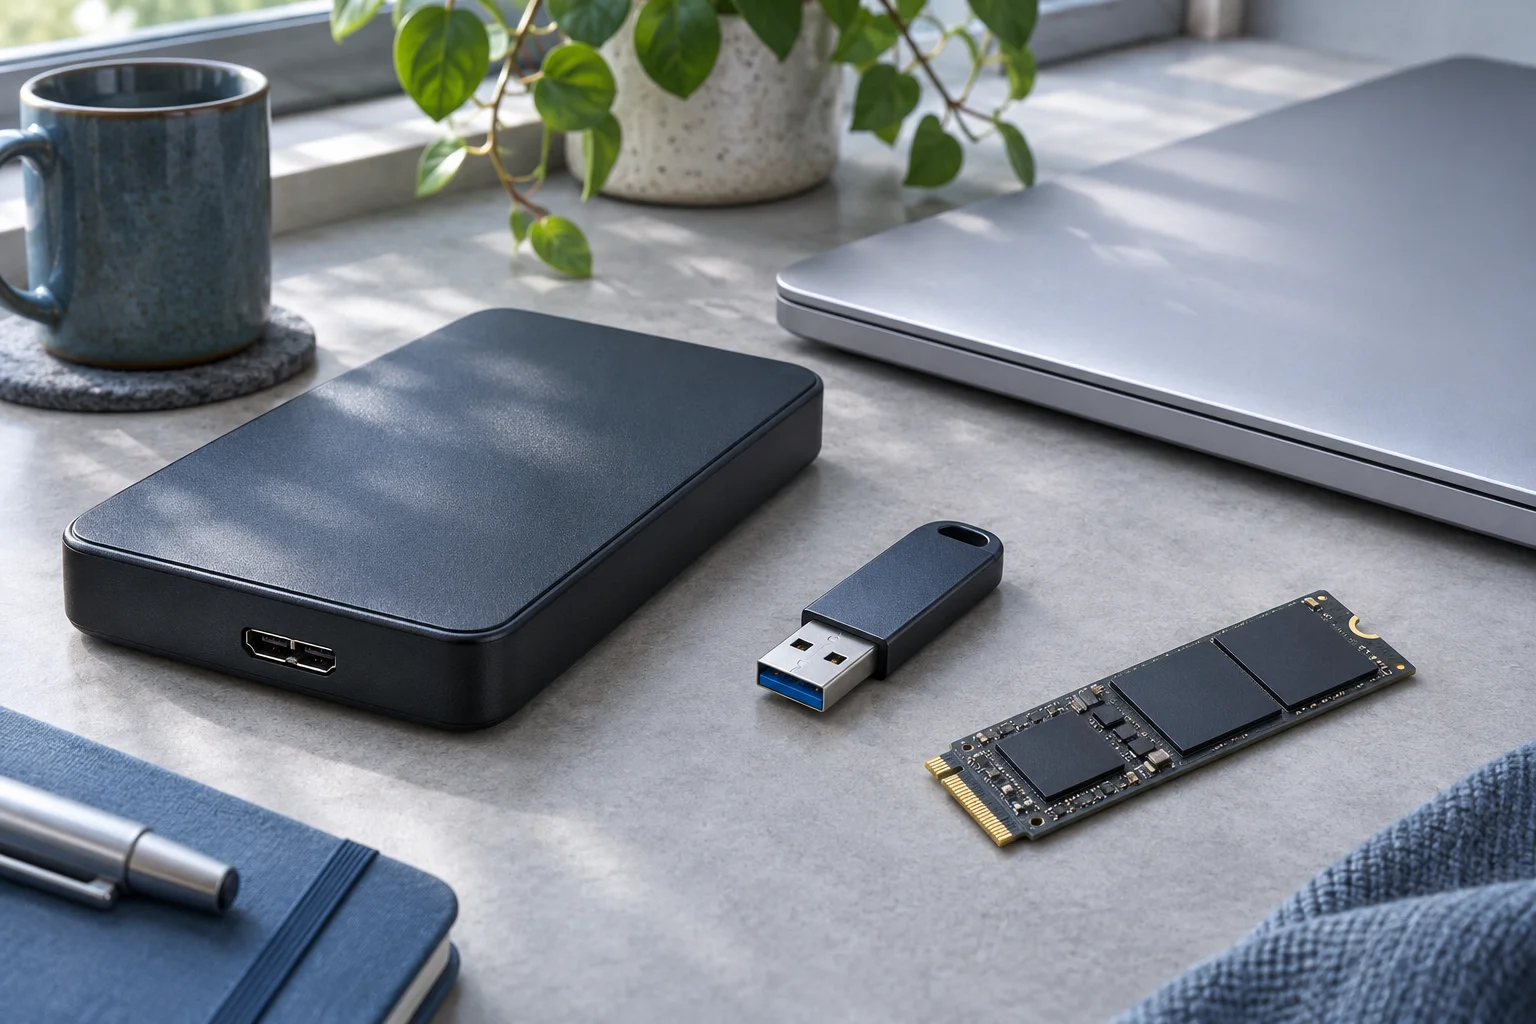
Identify the interface before connecting
Read the label and inspect the connector with the device powered off. This workflow concerns an ordinary SATA HDD; older IDE/PATA, proprietary connectors, SAS devices and soldered storage need different equipment. Do not force a connector because the enclosure appears large enough.
Use a SATA adapter, dock or enclosure that explicitly supports the drive and its power requirements. A 3.5-inch desktop HDD generally needs a suitable external power supply through the adapter; do not assume a cable intended for a small portable drive will power it. Follow the equipment manufacturer’s instructions and retain the original components.
If the drive was dropped, grinds, repeatedly hard-clicks or has a burned smell, do not power it for this workflow. For unique data, arrange an assessment before testing it. Age alone does not establish failure, but it is a reason to avoid unnecessary boots and stress tests.
Connect it as a data source
Use a working computer and another healthy disk for the output. Follow the computer and adapter instructions for powering down and connecting the old drive. Identify it by model and capacity in Disk Management before selecting any volume.
Cancel initialization and formatting prompts on a previously used disk. Microsoft’s Disk Management guidance distinguishes preparing new empty storage from preserving existing files. A healthy data volume missing only a letter can be assessed for letter assignment; an unallocated or RAW volume should not be prepared as a new one.
If BitLocker was used, obtain the valid password or recovery key. Permissions and encryption are different issues: being an administrator on the new computer does not automatically decrypt the old files.
Copy the files you can already see
Create a destination folder labeled with the old drive and date. Copy, rather than move, priority folders such as documents, photos and actual project directories. Check the old user profiles for the relevant account; do not assume the first profile contains everyone’s files.
Retain companion assets, sidecars and project folders together. An application installation copied from Program Files is not generally the same as a reinstalled working application; focus on your documents, exports, settings and project data appropriate to the software involved.
Open destination copies and verify their contents. If useful original hashes or inventories exist, compare them. Check large archives and media beyond the first preview. If reads begin failing, stop ordinary copying and reassess preservation rather than repeatedly retrying one difficult file.
Scan only when there is a recovery task
For a stable readable HDD with deleted files, a lost partition or file-system damage, XRecovery supports finding surviving content and exporting it elsewhere. Select the old disk or affected volume, inspect candidates and recover to the healthy destination. XRecovery also supports BitLocker scanning after authorized unlocking with valid credentials.
Do not install the tool or save exports onto the old HDD. If the disk remains undetected, reports no credible capacity or disconnects repeatedly, no suitable software scan source has been established. Keep the original disk and connection details available for assessment, and preserve validated copies before deciding whether to retire the drive.