Use this workflow only when Windows recognizes the hard drive as a stable disk, partition, or external device. If the HDD clicks, repeatedly disconnects, changes capacity, or is absent from Disk Management, stop and use the hardware-failure decision path.
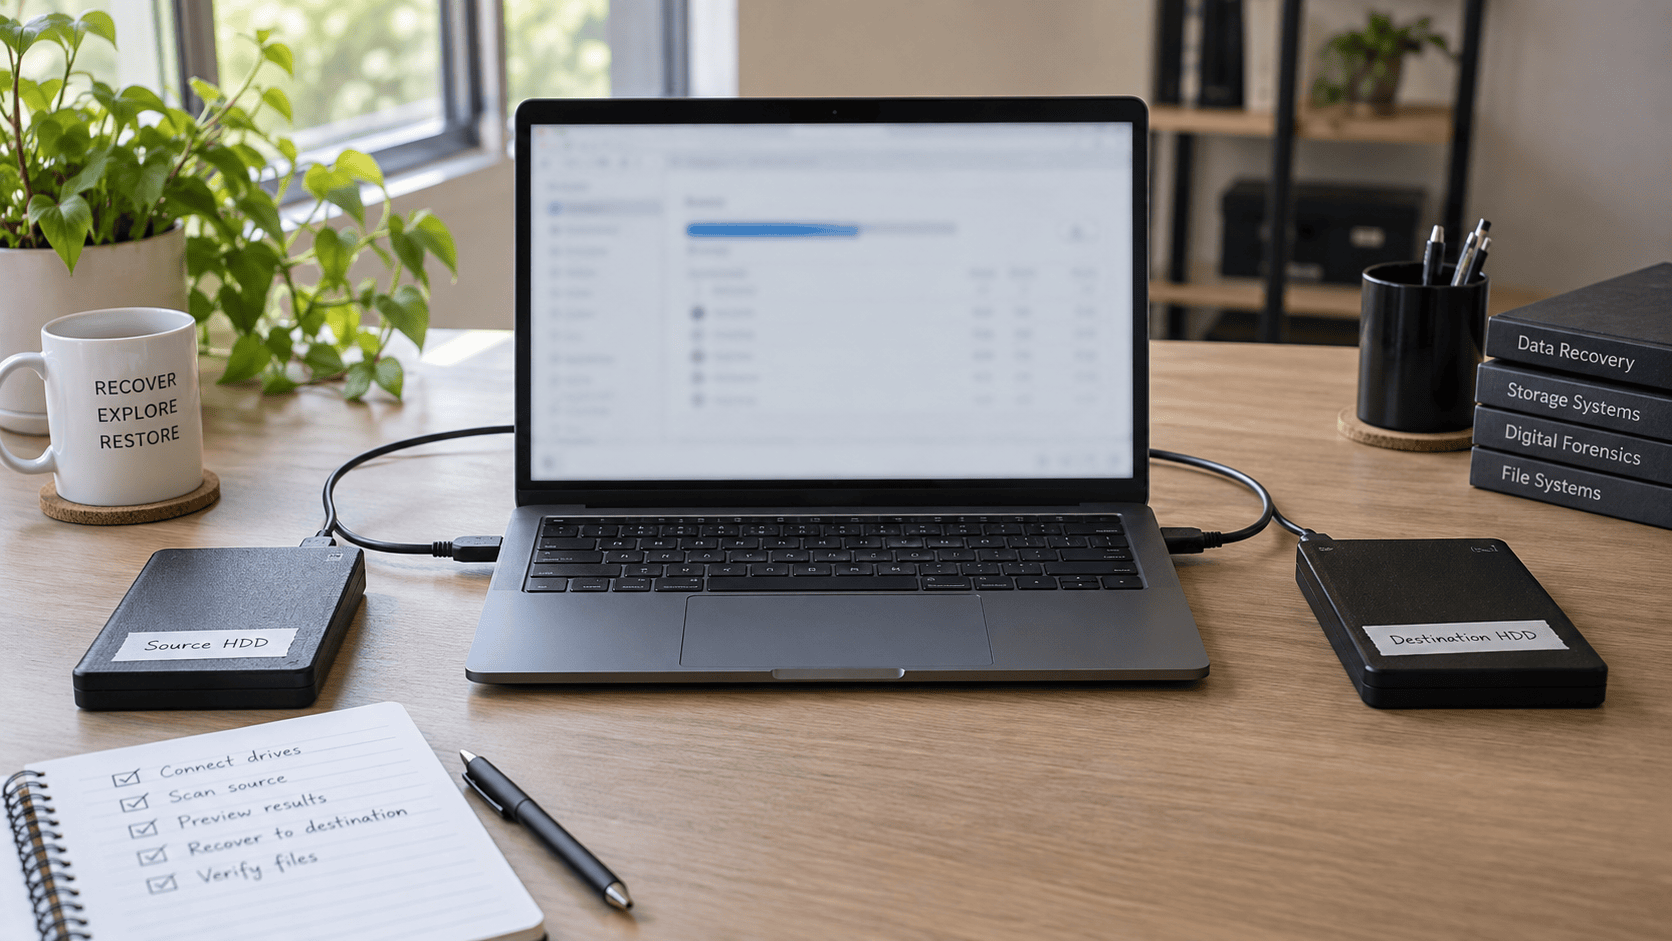
Prepare the source and destination
XRecovery 3.1.6 runs on Windows. Install it on a disk other than the one being recovered. Connect a separate healthy destination with enough free space for exported files. Do not format, initialize, repair, or write test files to the source.
For a readable but deteriorating HDD, consider a direct byte copy first. XRecovery supports disk byte copying, partition byte copying, loading images, and saving or restoring scan sessions. Unreadable regions may time out and be skipped, allowing later regions to be scanned.
Select and scan
- Open XRecovery and identify the HDD by model, capacity, and connection.
- Choose the physical disk, partition, or loaded image that matches the case.
- Start scanning by double-clicking the source or selecting it and using the scan button.
- Let quick scan complete. Deep scan starts automatically afterward.
- Save the scan session if you need to stop and resume result review later.
Do not assume that a drive letter alone identifies the correct source. Compare capacity and connection, especially when several external drives are attached.
Review the result
Inspect file-system results for names and folders, and signature-based results for recognized content whose original metadata is missing. Filter by relevant file types and preview representative files where supported. XRecovery covers common photo, video, and document formats rather than every possible format.
Recover a small representative sample first. The free allowance is 2 GB in total.
Recover to another device
Choose a destination on a different physical disk. XRecovery warns against selecting the scanned source and blocks it by default, but a user can override the warning. Do not override it when the data matters; writing to the source may replace other recoverable sectors.
Open the exported sample in its normal application. Check full documents, archive extraction, full-resolution photos, and multiple points in videos with audio. After validation, export the remaining selected files.
Keep the original HDD or first image unchanged until the recovered set has been reviewed and backed up. Scanning, listing, and previewing are intermediate evidence; verified exported files are the recovery result.