Hard drive recovery is a sequence of decisions, not a single repair command. Accidental deletion, formatting, a RAW volume, a missing drive letter, and a clicking disk have different risk levels. The first goal is to preserve the source long enough to obtain a verified copy of important files.
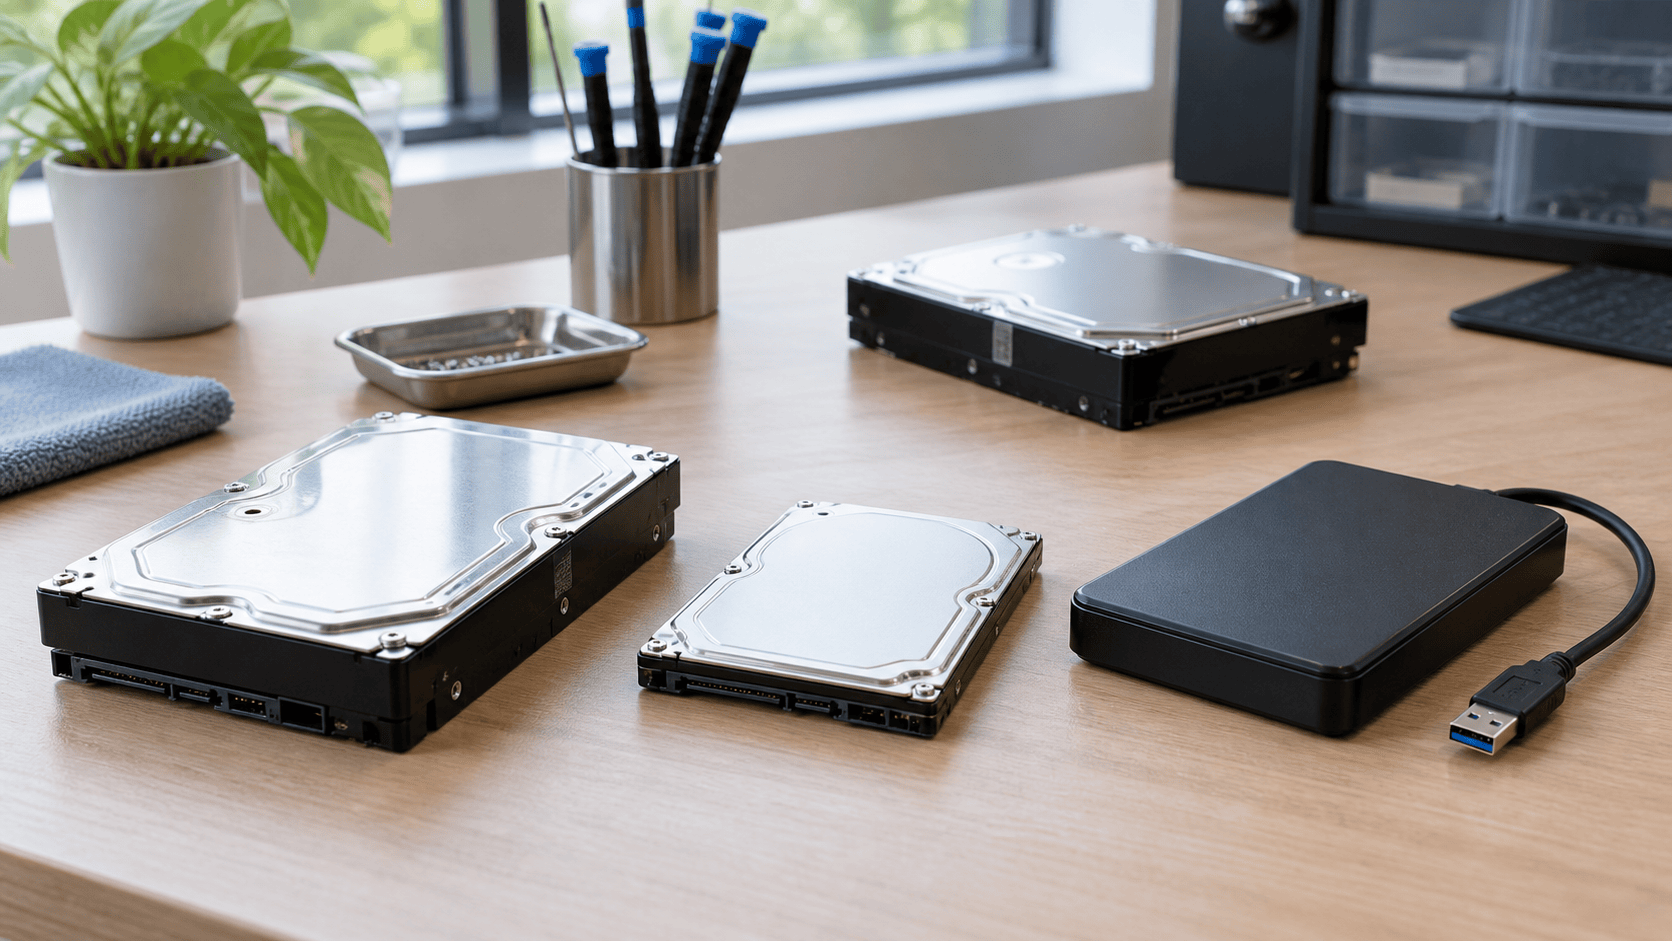
Stop using the affected hard drive. Do not install recovery software on it, save files to it, format it, initialize it, run CHKDSK, or reinstall Windows. If the disk is making new clicking, scraping, or repeated spin-up sounds, power it down. Continued mechanical operation can turn a readable surface problem into more extensive damage.
Identify how far Windows can see the drive
Check whether the physical disk appears in system firmware, Device Manager, and Disk Management. Then check whether it has a partition, whether Windows recognizes the file system, and whether a drive letter is assigned.
A disk can be present in Disk Management even when File Explorer cannot mount it. A missing letter can be a mount problem; RAW or unallocated space can indicate damaged logical structures; an implausible capacity, repeated disconnection, severe slowdown, or unusual sound can indicate a device-level problem. Observe before changing anything.
Match the recovery path to the loss
For deleted files, check the Recycle Bin, File History, cloud version history, application backups, and other copies first. If no copy exists, a scan may reconstruct file-system records or locate file content by signature, provided later writes have not reused the sectors.
For an accidental format, record whether it was quick or full and whether the disk was used afterward. Do not format it again. For a RAW or corrupted volume, recover files before attempting file-system repair. Repair tools may make a volume mountable while discarding or changing records that a recovery scan could have interpreted.
For an unrecognized external HDD, test one known-good cable, port, and—where relevant—power supply or enclosure. If the disk itself is stable and Windows exposes it with the expected capacity, software can address it. If it is absent, unstable, or mechanical symptoms are present, ordinary software has no safe, stable source to scan.
Use an image when the source is deteriorating
A byte-for-byte image or clone preserves the current readable sector state and lets later scans work from a different device. XRecovery supports direct disk byte copying and partition byte copying, and it can load an image for scanning. Unreadable regions may time out and be skipped so the operation continues; content stored in skipped sectors remains unavailable.
Imaging is still sustained reading. If the drive repeatedly resets, clicks, overheats, or loses detection, stop rather than forcing more passes. Unique, business-critical, encrypted, or legally sensitive data can justify professional recovery before DIY work.
A controlled XRecovery workflow
XRecovery 3.1.6 runs on Windows and can scan disks, partitions, and external devices recognized by Windows. Install it on another disk and prepare a separate physical destination.
- Confirm the source by model, capacity, and connection.
- Create or load an image first when preservation calls for it.
- Start scanning the chosen disk, partition, or image.
- Let quick scan finish; deep scan starts automatically afterward.
- Review file-system and signature-based results and preview representative files.
- Recover a sample to another physical device, then validate it.
- Export the remaining selected files and keep the source unchanged until verification is complete.
XRecovery scans the selected source read-only. It warns against selecting that source as the recovery destination, although the warning can be overridden. Do not override it when the lost files matter. The free allowance is 2 GB in total, and file support covers common photo, video, and document formats rather than every format.
Validate the result
Open documents beyond the first page, extract archives, inspect full-resolution photos, and play videos through several points with audio. Compare expected folders, sizes, dates, and counts with another record. A filename or thumbnail proves only that some metadata or content was found.
Use the supporting guides for deletion, corruption, or non-detection when one of those states matches the disk. Use the XRecovery workflow page for product steps, and the HDD technology page for the boundaries imposed by sectors, fragmentation, bad regions, and mechanical failure.
Record the case before another attempt
Keep a short record of the drive model, reported capacity, symptoms, files you need and previous scans or repair attempts. This helps distinguish a new change from an existing symptom and gives a provider a clearer starting point if you stop DIY work.
If you are considering a service, use the hard drive recovery quote checklist to compare the scope and partial-recovery terms. For a Seagate device, check Rescue eligibility before selecting another service.