Losing photos stored on an SD card can be a distressing experience. These photos often hold precious memories or significant professional work.
![]()
But don’t worry—recovery may still be possible.
There’s a good chance you can recover these lost photos. This is because when photos are deleted, they aren’t immediately erased from the storage device.
This guide will walk you through the process of restoring lost photos on an SD card. We’ll cover immediate actions, software selection, and what to do if recovery fails. Finally, we’ll explain what to do if recovery software fails.
By the end of this guide, you’ll have a clear understanding of how to recover deleted photos from an SD card. So, let’s dive in and start the recovery process.

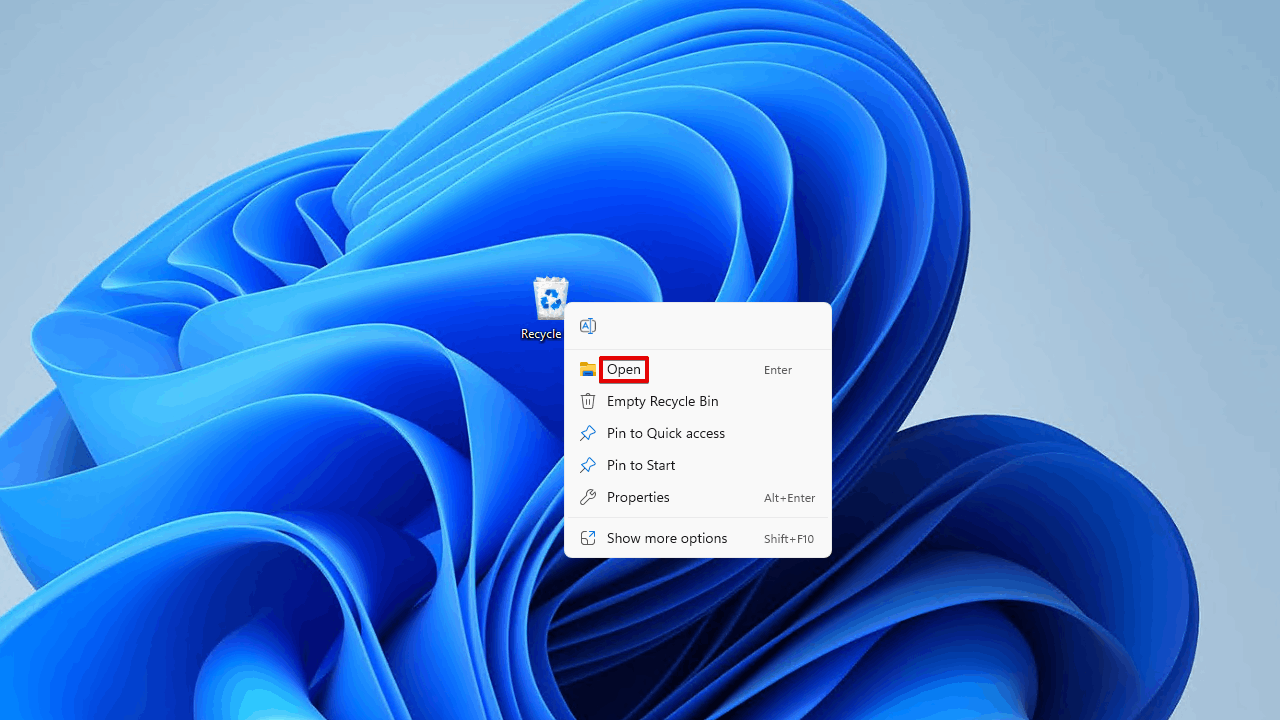
- Open recycle bin on desktop

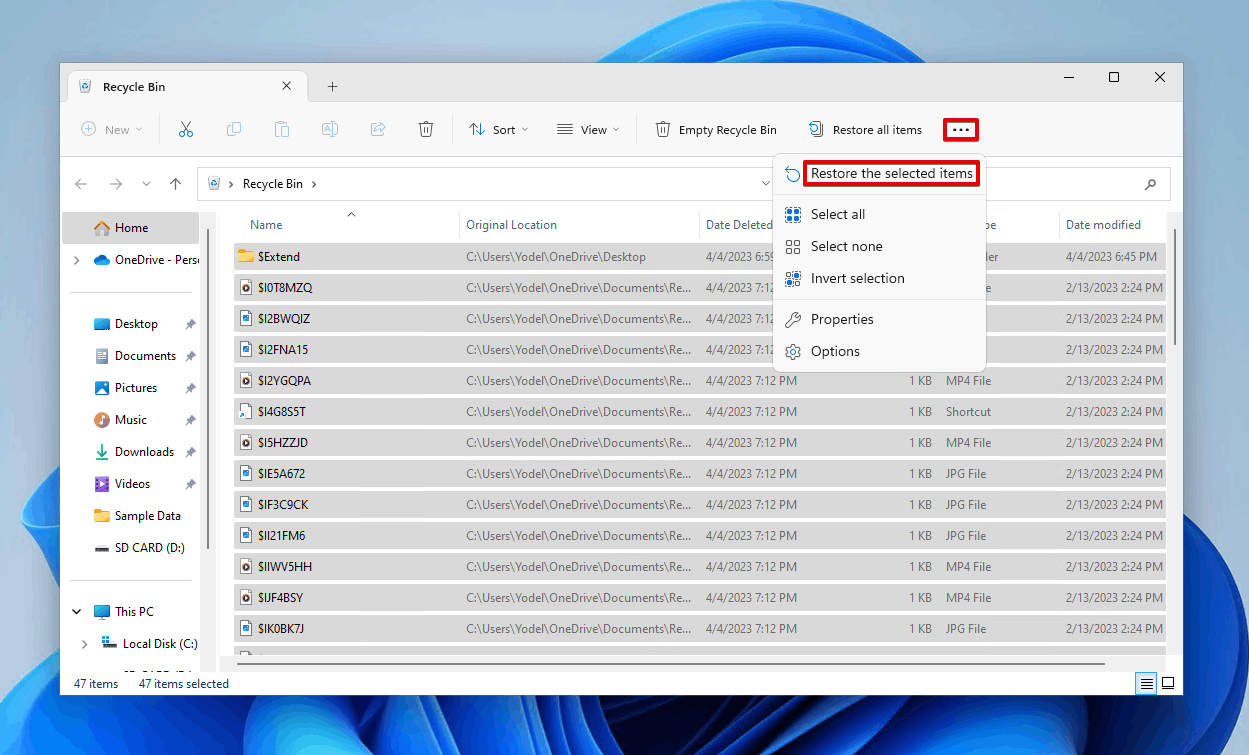
- Select the data you want to restore and click
Restore the selected items.
This will restore the item to its original location. If you want to restore them to a different location, just drag and drop them from the Recycle Bin into another folder.
On Windows, you can use applications like OneDrive, Dropbox, or Google Photos to back up everything to the cloud.
If you do this, you should be able to recover every deleted photo by downloading it from your chosen cloud storage service. Cloud recovery works anytime, anywhere, across devices. Even if your original device is stolen or lost, this method can save you.
Use the links below to view official guides on how to download files from popular cloud storage services:
- OneDrive
- Dropbox
- Google Photos